JIGS
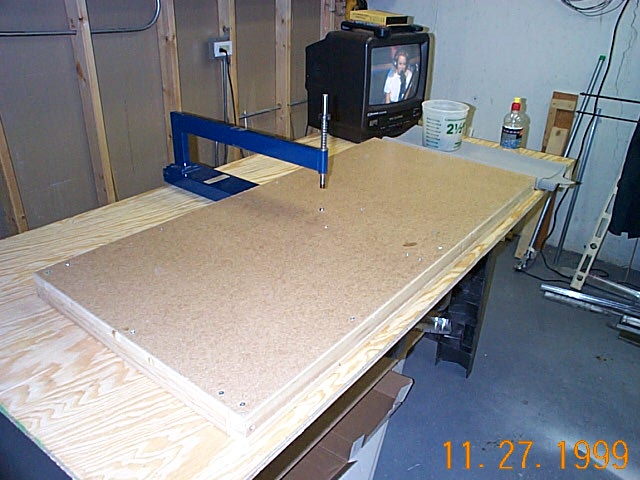
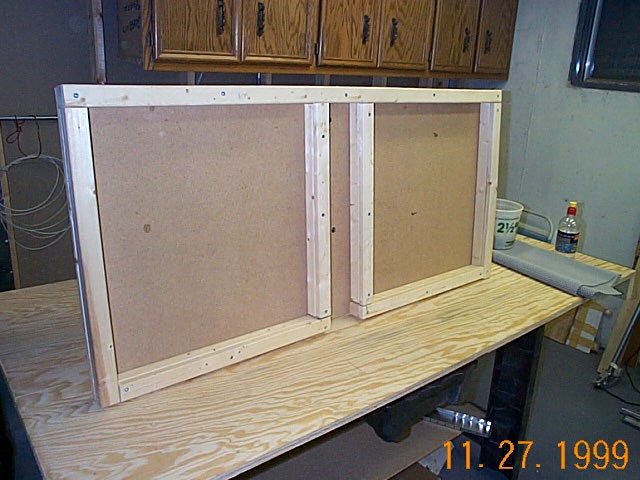
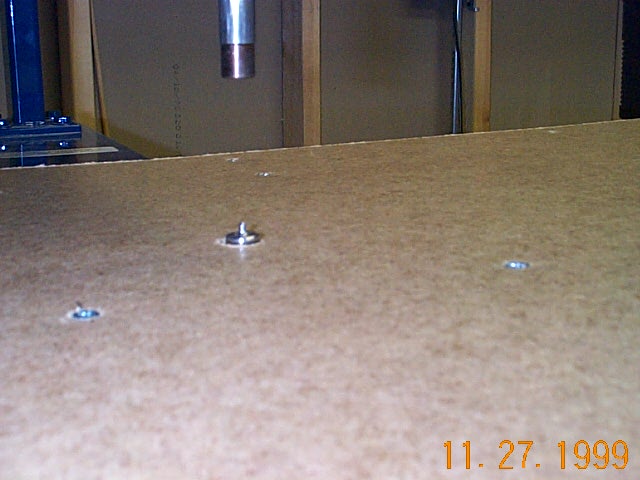
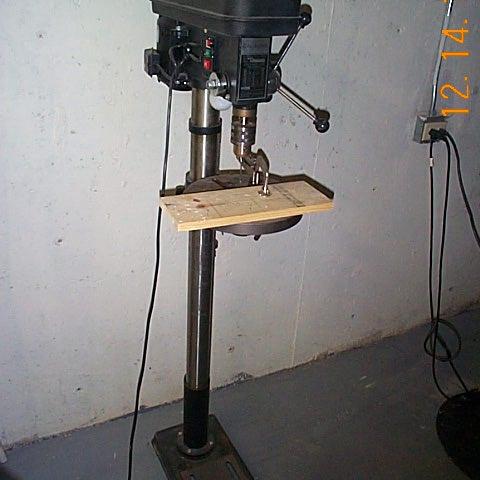
This is a frame I built to help make dimpling the skins easier. Several others builders have built similar devices and it seemed like a good idea so I did the same. It went together easily using 2x2 lumber and 2x3/4 strips laminated together. I used fiberboard for a top and the total of the three pieces gave me the correct height. The dimple sticks up about a 1/16" and that's just about right.
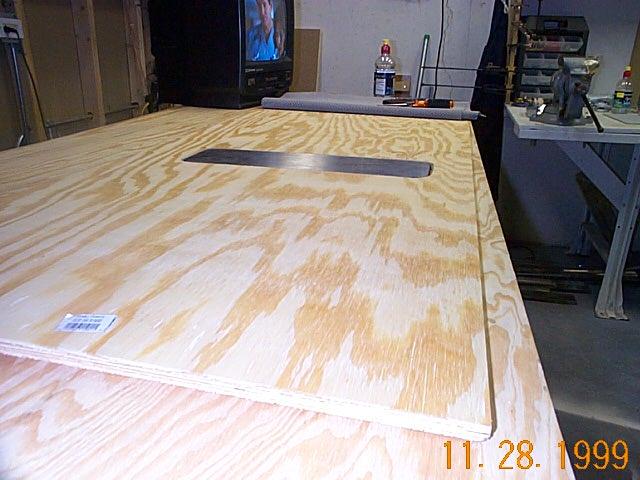
This is the back rivet plate mounted in a piece of 1/2" plywood. I cut a hole in the center, after tracing the shape, with a saber saw. The back rivet plate now sits flush with the 4'x2' plywood.
TOOLS
1
2
3
4
5
6
7
8

In addition to the "normal" tools, other power tools come in very handy. Most of the power tools (except the buffer/grinder and drill press) were purchased used through the paper or at "retool" shops. In order:
-
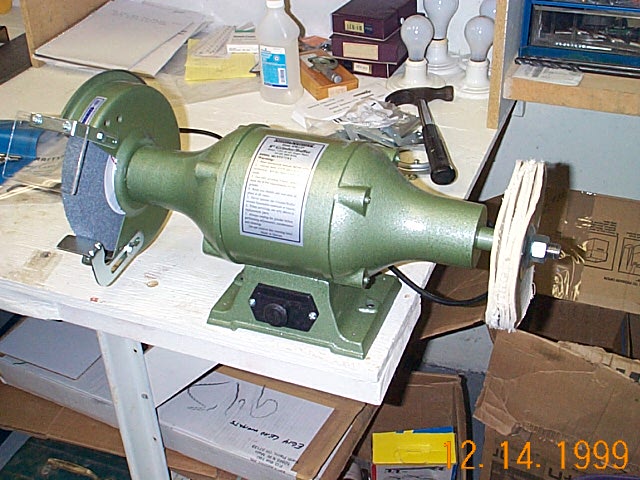
Buffer Grinder (Harbor Freight $79) - This is used for grinding metal parts (not aluminum). The buffer wheel will be changed out for a scotchbrite wheel.
-
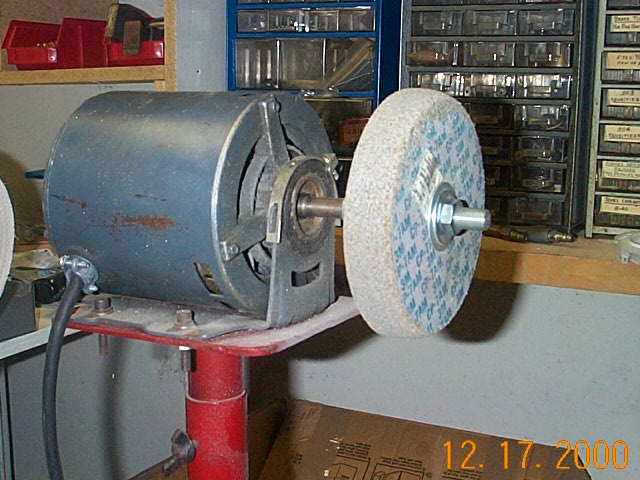
My current method for deburring parts and smoothing edges. It's a home made. I took an old motor that I got at a garage sale for $5 and connected the scotchbrite wheel to it. my brother made a stand of steel tubing but a simple wood stand would work just as well. The position of the wheel is a little close to the motor so it wears away one side of the wheel more than the other in normal use.
-
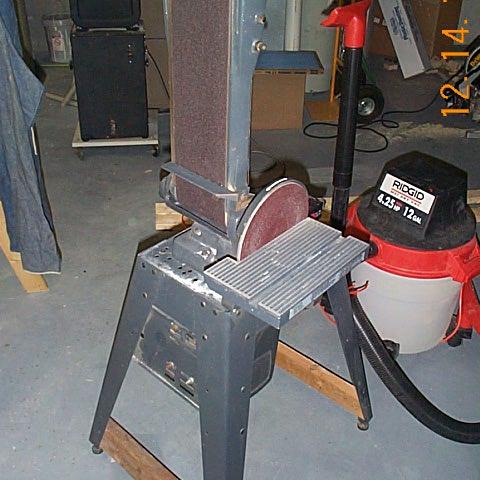
A Craftsman combination belt/disc sander makes quick work of grinding away aluminum when necessary. I got this unit reconditioned from a "re-tool" shop for about $149 including stand. Not a steel, but a good price compared to new.
-
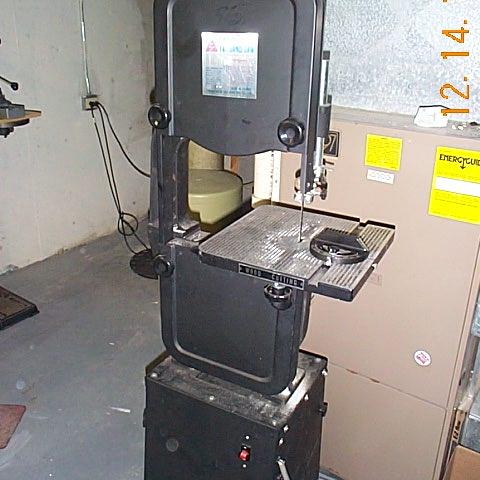
I purchased the band saw from an ad in the paper. The previous owner only used it a couple of times and had several blades as well as a home made cart with rollers. It's made in Taiwan and is "ok" quality. It says on the machine "For Wood use Only", but work fine for the thin aluminum parts. Along with the belt sander, this saw has paid for itself when making stiffeners.
-
The drill press is an in-expensive Cal Hawk unit that I purchased from Menards. It's noisy and doesn't run as true as I'd like. Probably ok for wood but not metal. Stay away from this model if you can.
-
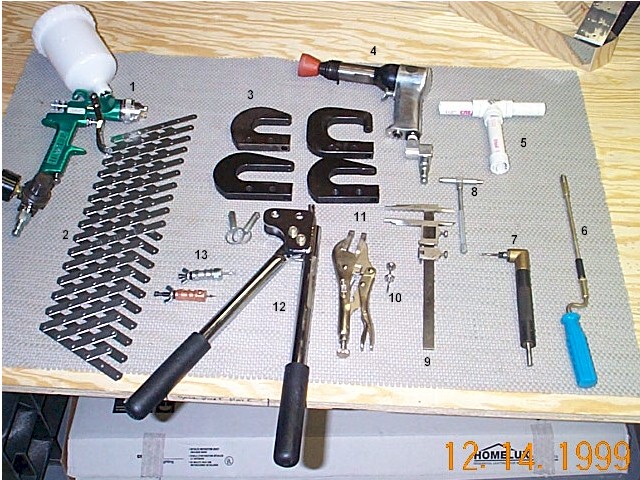
Pictures 6, 7 and 8 are some, but not all, of the tools used (but not necessarily needed) to build this plane.
-
Central Pneumatic HVLP spray gun with 1.4mm spray tip from Harbor Freight. About $69. Works great for priming and uses more than half as much paint as my old standard spray gun.
-
Rivet Fan spacing tool from Avery's - $40. Works very good for spacing the holes when drilling the stiffeners. I just wish I had the tool then, my stiffeners would have come out much better.
-
I have four different squeezer yokes. The squeezer came with the 1.5" yoke. I purchased the longeron (the one with the "hook") and the 3.5" yoke when I ordered the squeezer. If I had know better I would have substituted the 3.5" yoke for the 1.5". The 3.5" is necessary, the 1.5" yoke is not. The last yoke on the lower right is the "no hole" yoke. Save yourself some grief and order this before you start building the rudder and elevators. Its really the best way to squeeze the rivets at the end of the tip ribs.
-
Central Pneumatic 3x rivet gun with universal flush rivet set.
-
Home made "T" handle rod end bearing tool. This tool is very useful for installing and adjusting the rod end bearings on the Rudder, Elevators and (presumably) the ailerons. Send me an email if you need instructions on how to make this tool.
-
I have two of these deburring tools. One (shown) has an extension and comes in very handy. Besides, my wife can help deburr all those skins if I have two.
-
Angle drill is used for those tight spots and comes in handy when drilling some of those tight rib to spar holes.
-
Telescoping gauge worked perfectly for setting the Rudder to VS distance. There is really no other way I found to set the distance.
-
Vernier calipers are good to have around for lots of things, but work good for measuring the above telescoping gauge.
-
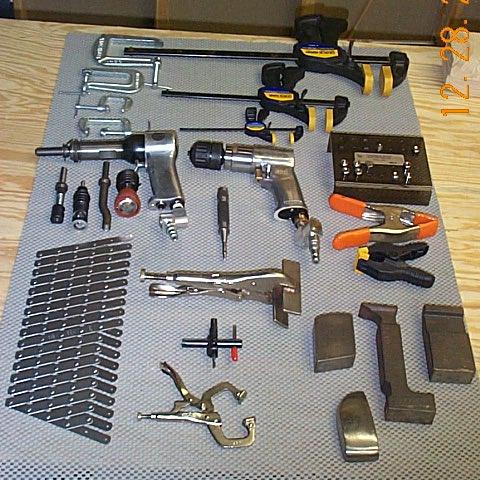
Pop Rivet dimple dies are necessary for some tight rib dimples and many skin dimples.
-
Special vice grip pliers from Avery's hold dimple dies and are easier to use in many area than the large squeezer.
-
Avery's rivet squeezer is a must. I prefer this unit of the Tatco hand squeezer because of the ease when changing the yokes. I find myself changing yokes quite frequently and the quick disconnect pins (shown) are the only way to go.
-
These are clecos that can be hand tightened. They cost about $3.00/ea and come in handy when you have to hold pieces together with more force than the standard spring clecos can provide.
-
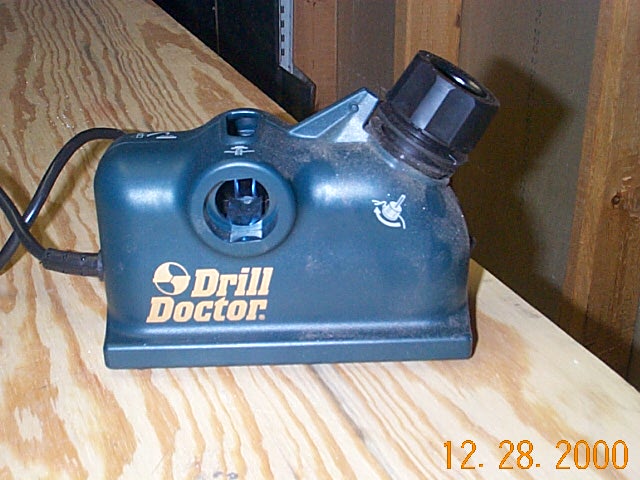
Drill Doctor
Beth bought me a Drill Doctor for Christmas. I've been complaining about dull drill bits lately as I get through the wings. Originally, when I placed my tool order in 1997, I bought 5 ea. of #30 and #40 as well as a couple of 6" and 12" jobber bits. I've bent a couple and broke a couple and purchased a few since then. I'm pretty good at sharpening drill bits, but the small ones are tough to sharpen properly. This little tool sells for about $79 at Home Depot and works great! I can sharpen a drill bit in less than a minute and never worry about dull bits again.
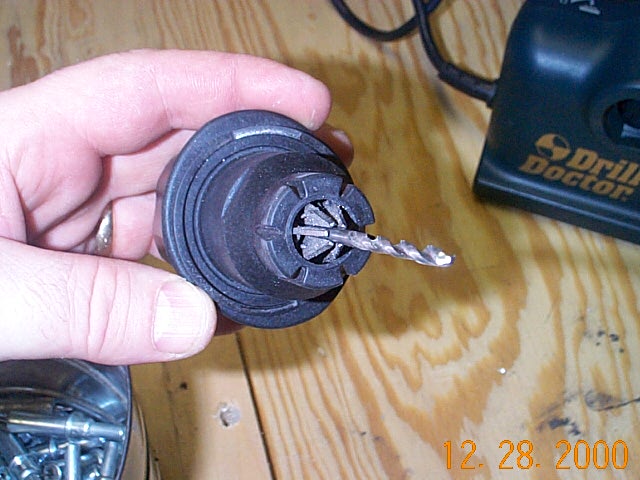
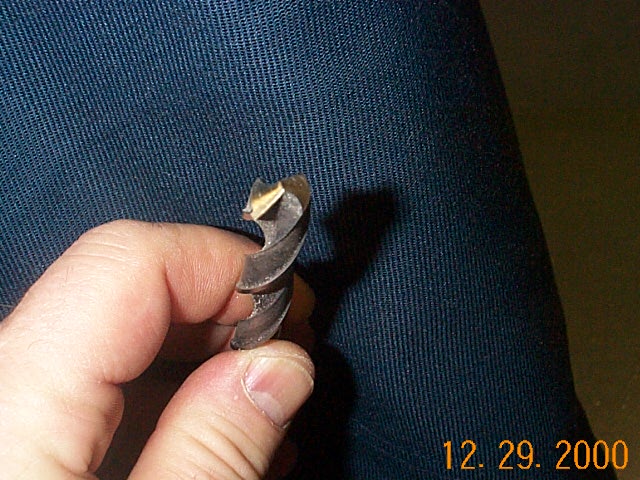
The end result looks like this. I couldn't get a good picture of the #40 bit so I'll show you what the 7/16" bit looks like although it doesn't do justice to how nice the sharpening is.
All in all, this is one cool tool and works just like the multi thousand dollar unit I used to use in a machine shop where I worked many moons ago. I wish I would have had this tool when I started the kit.