|
|
|||||
| Finishing the Fuselage | |||||
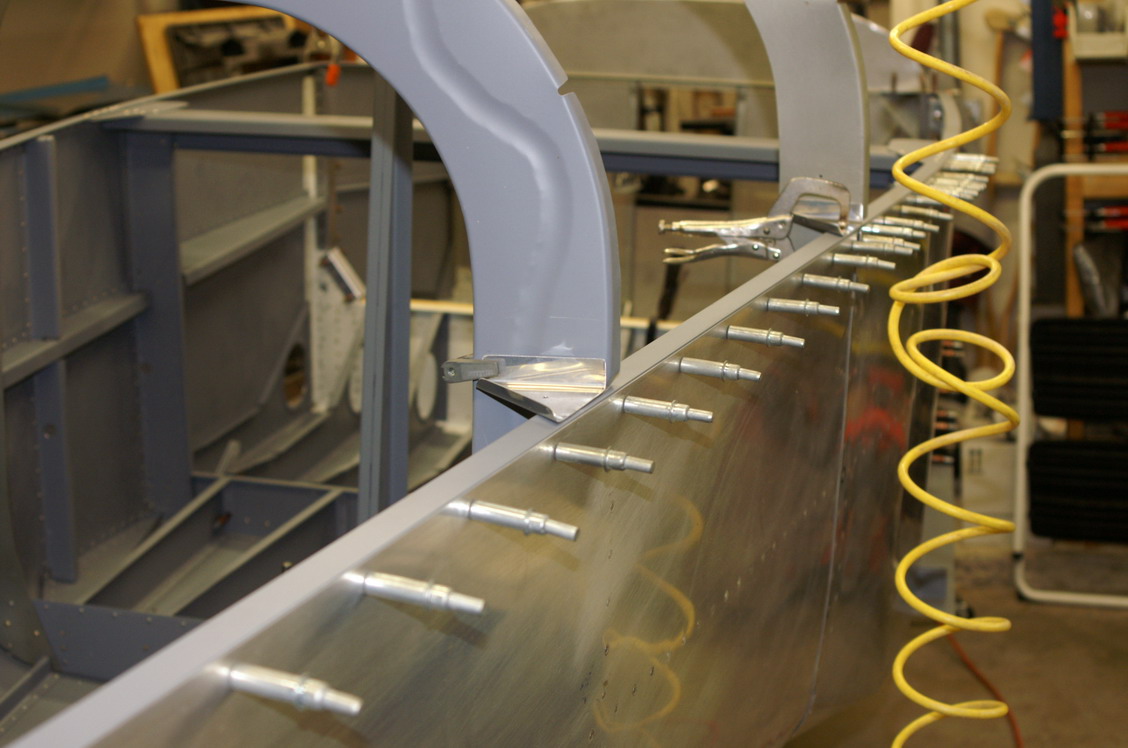 |
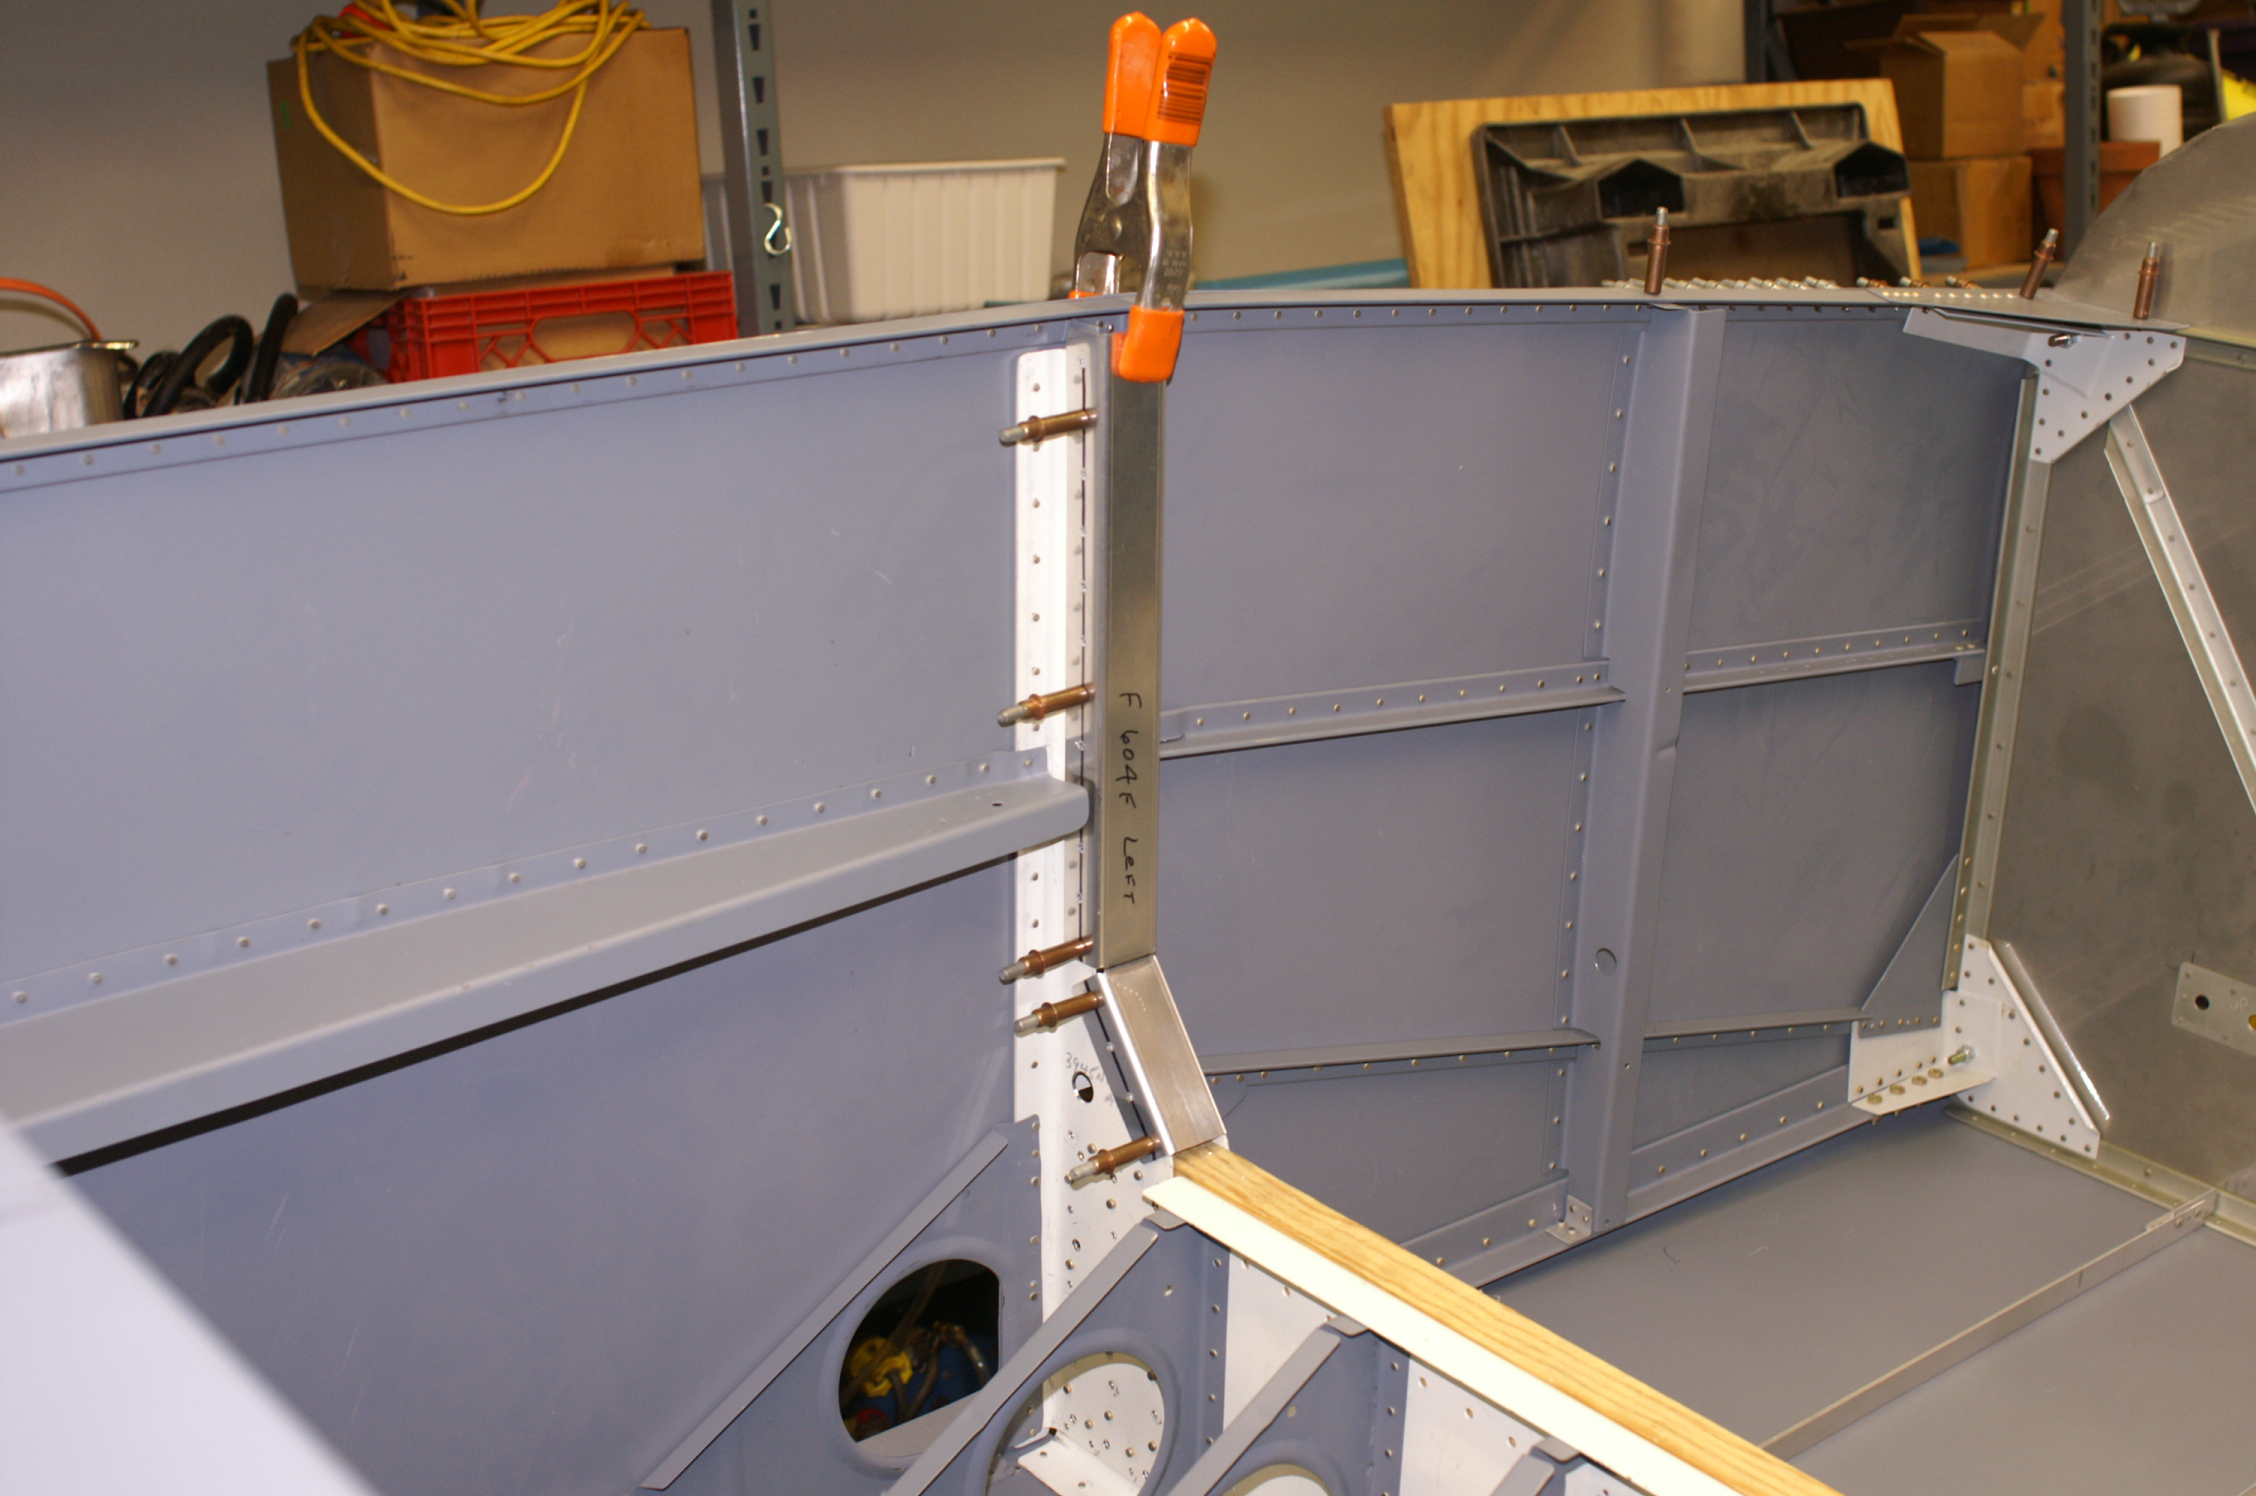
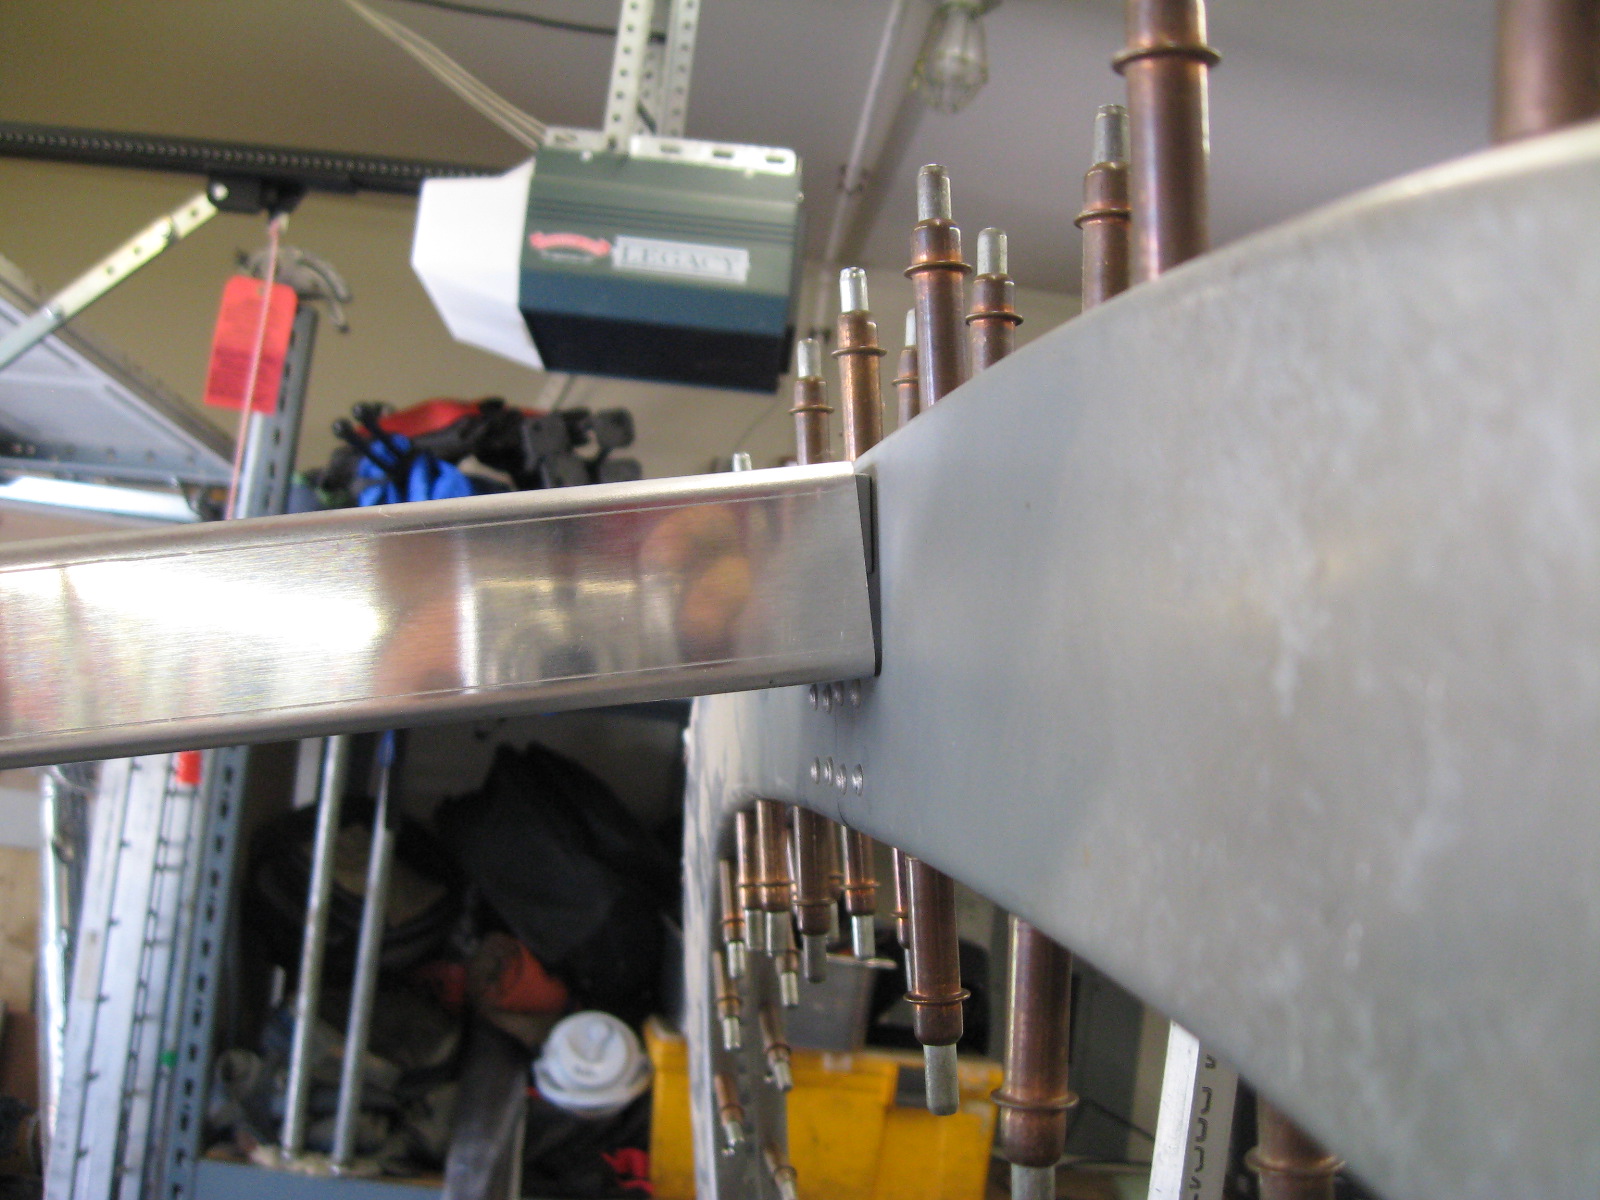
Angle cut and drilled to F609. Angle will be used to stiffen the F609 and provide a place to bolt the horizontal stabilizer. |
 |
|||
 |
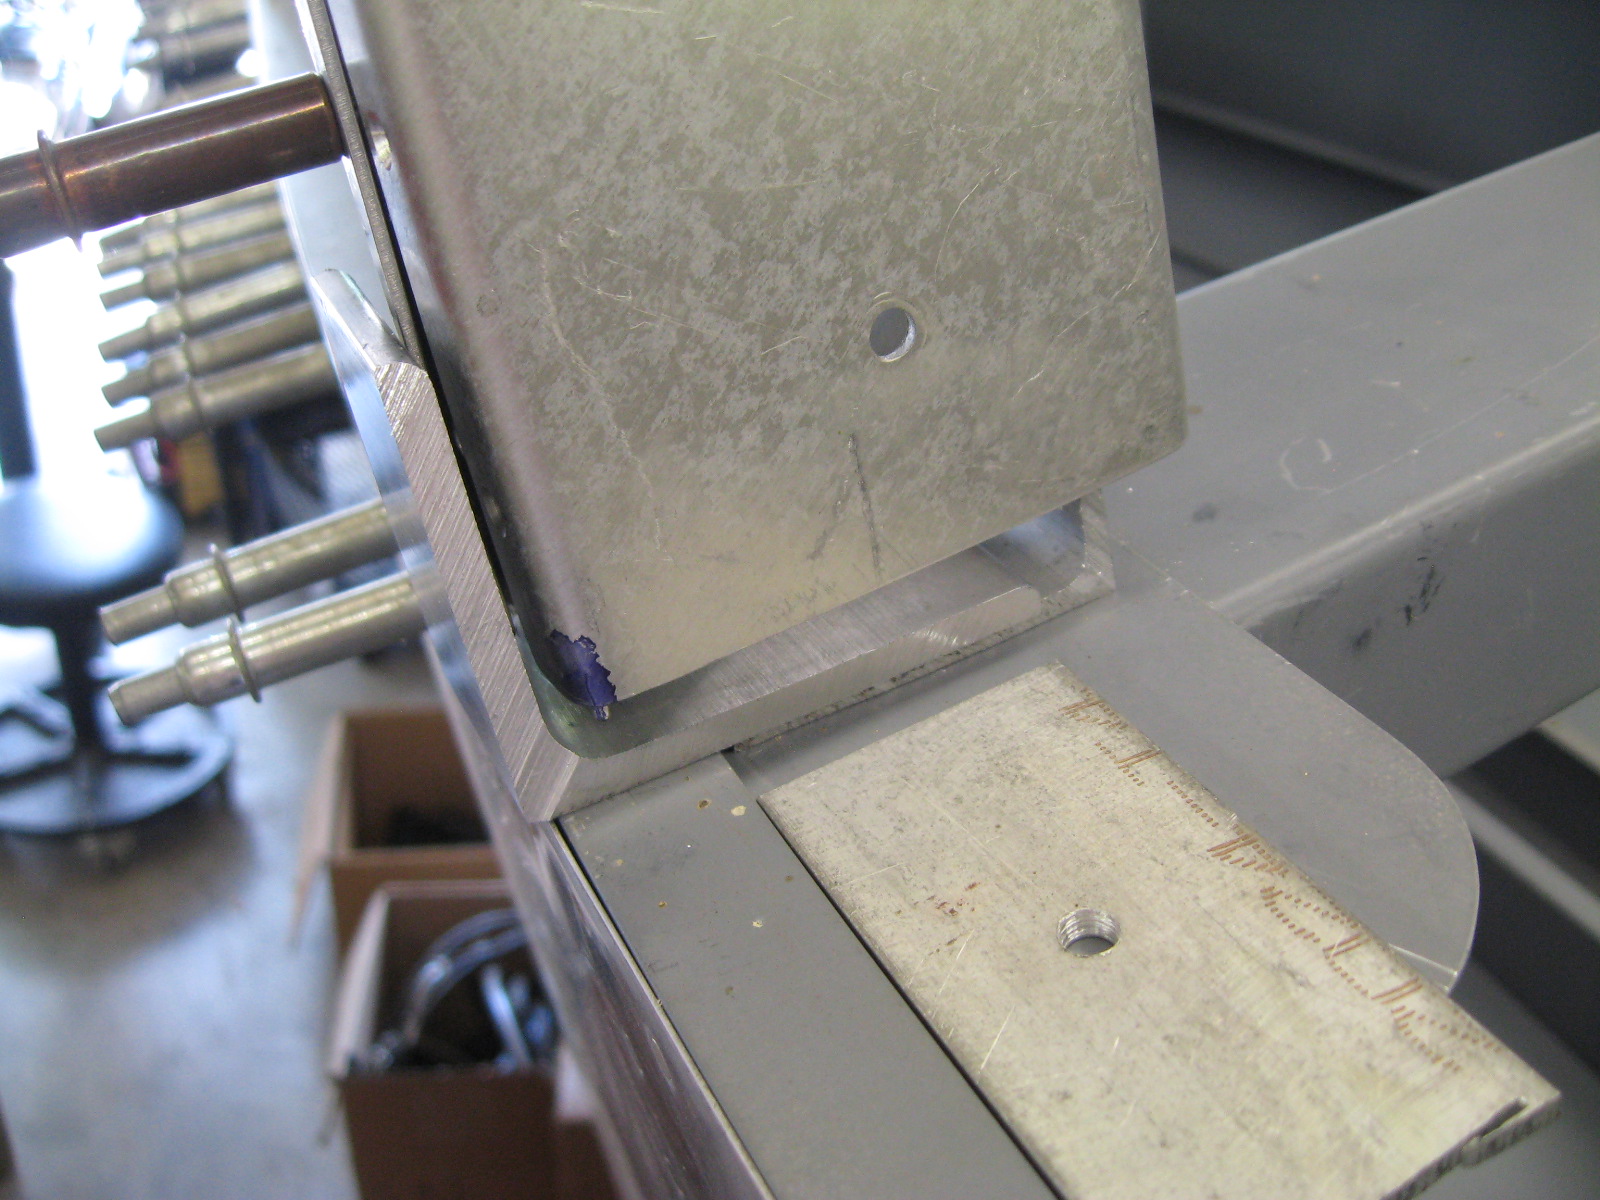
Spacer on top of angle to make up for thickness of longerons and provide a flat surface. | ||||
|
|
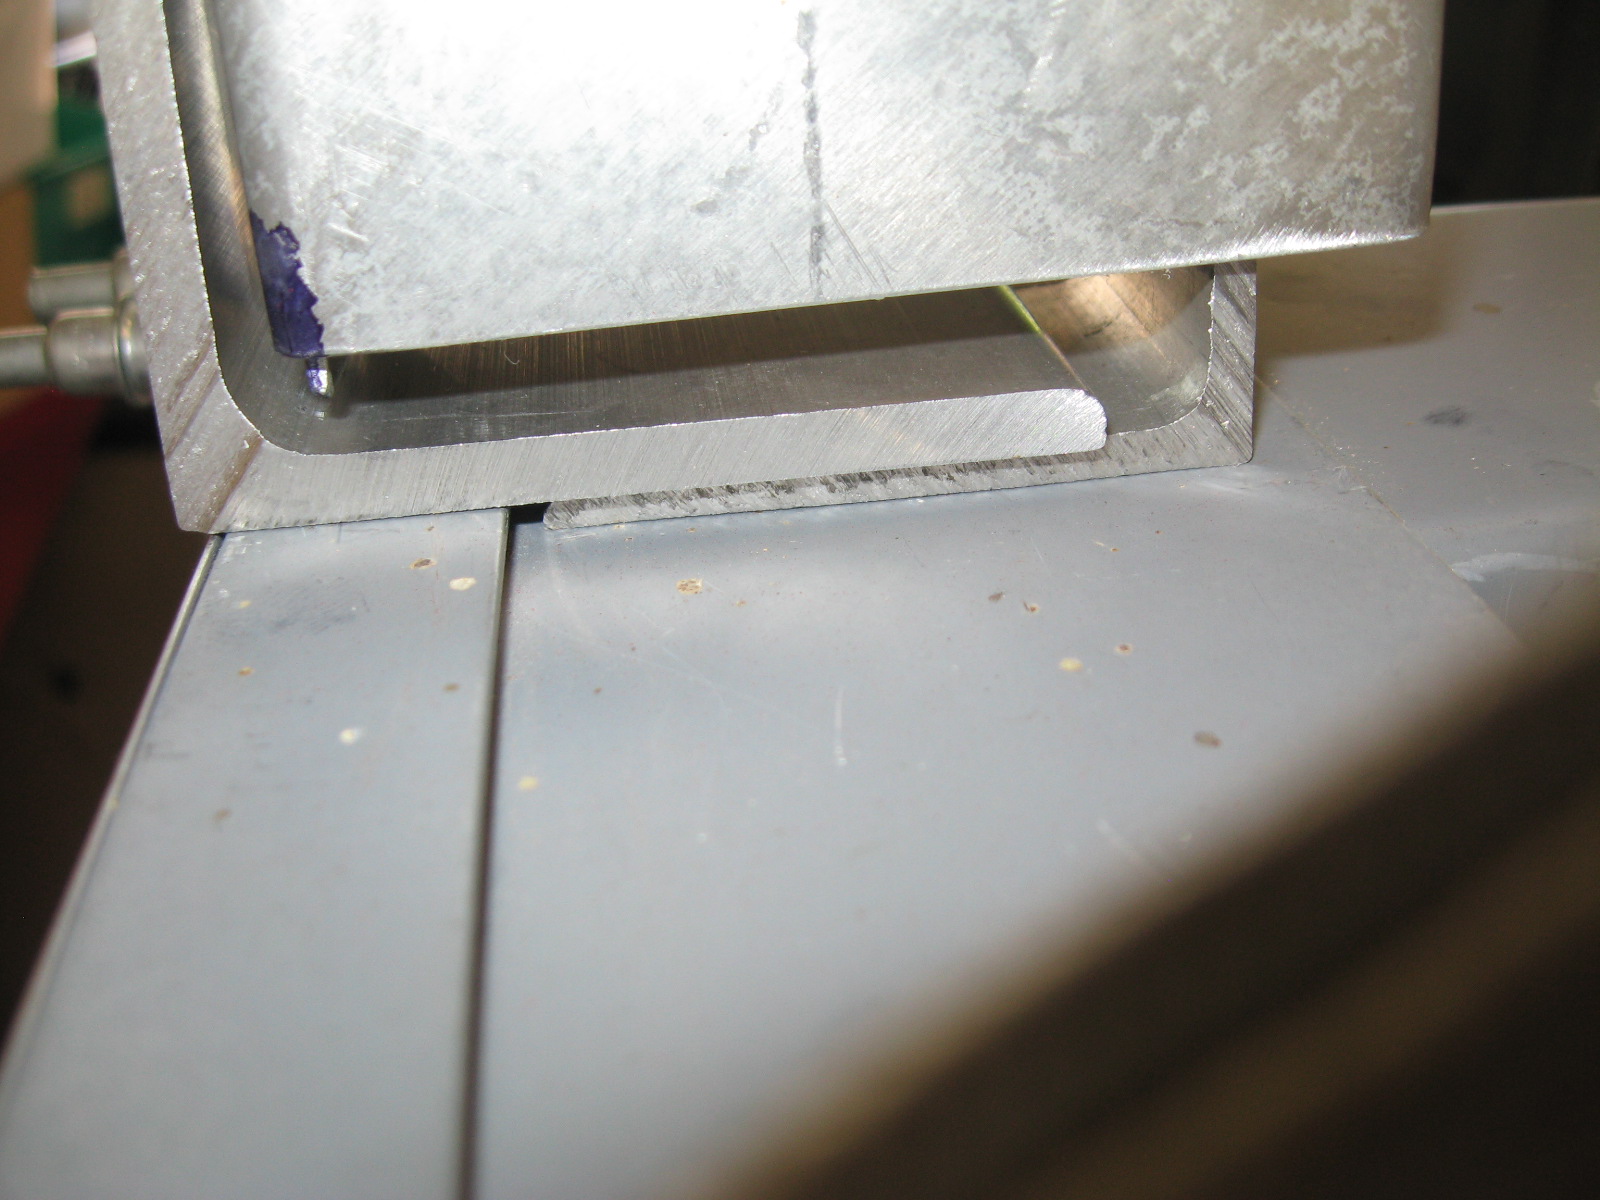
Here is the finished spacer in place. I used two AN426 rivets to hold it in place so since the deck will cover it up. | ||||
|
|
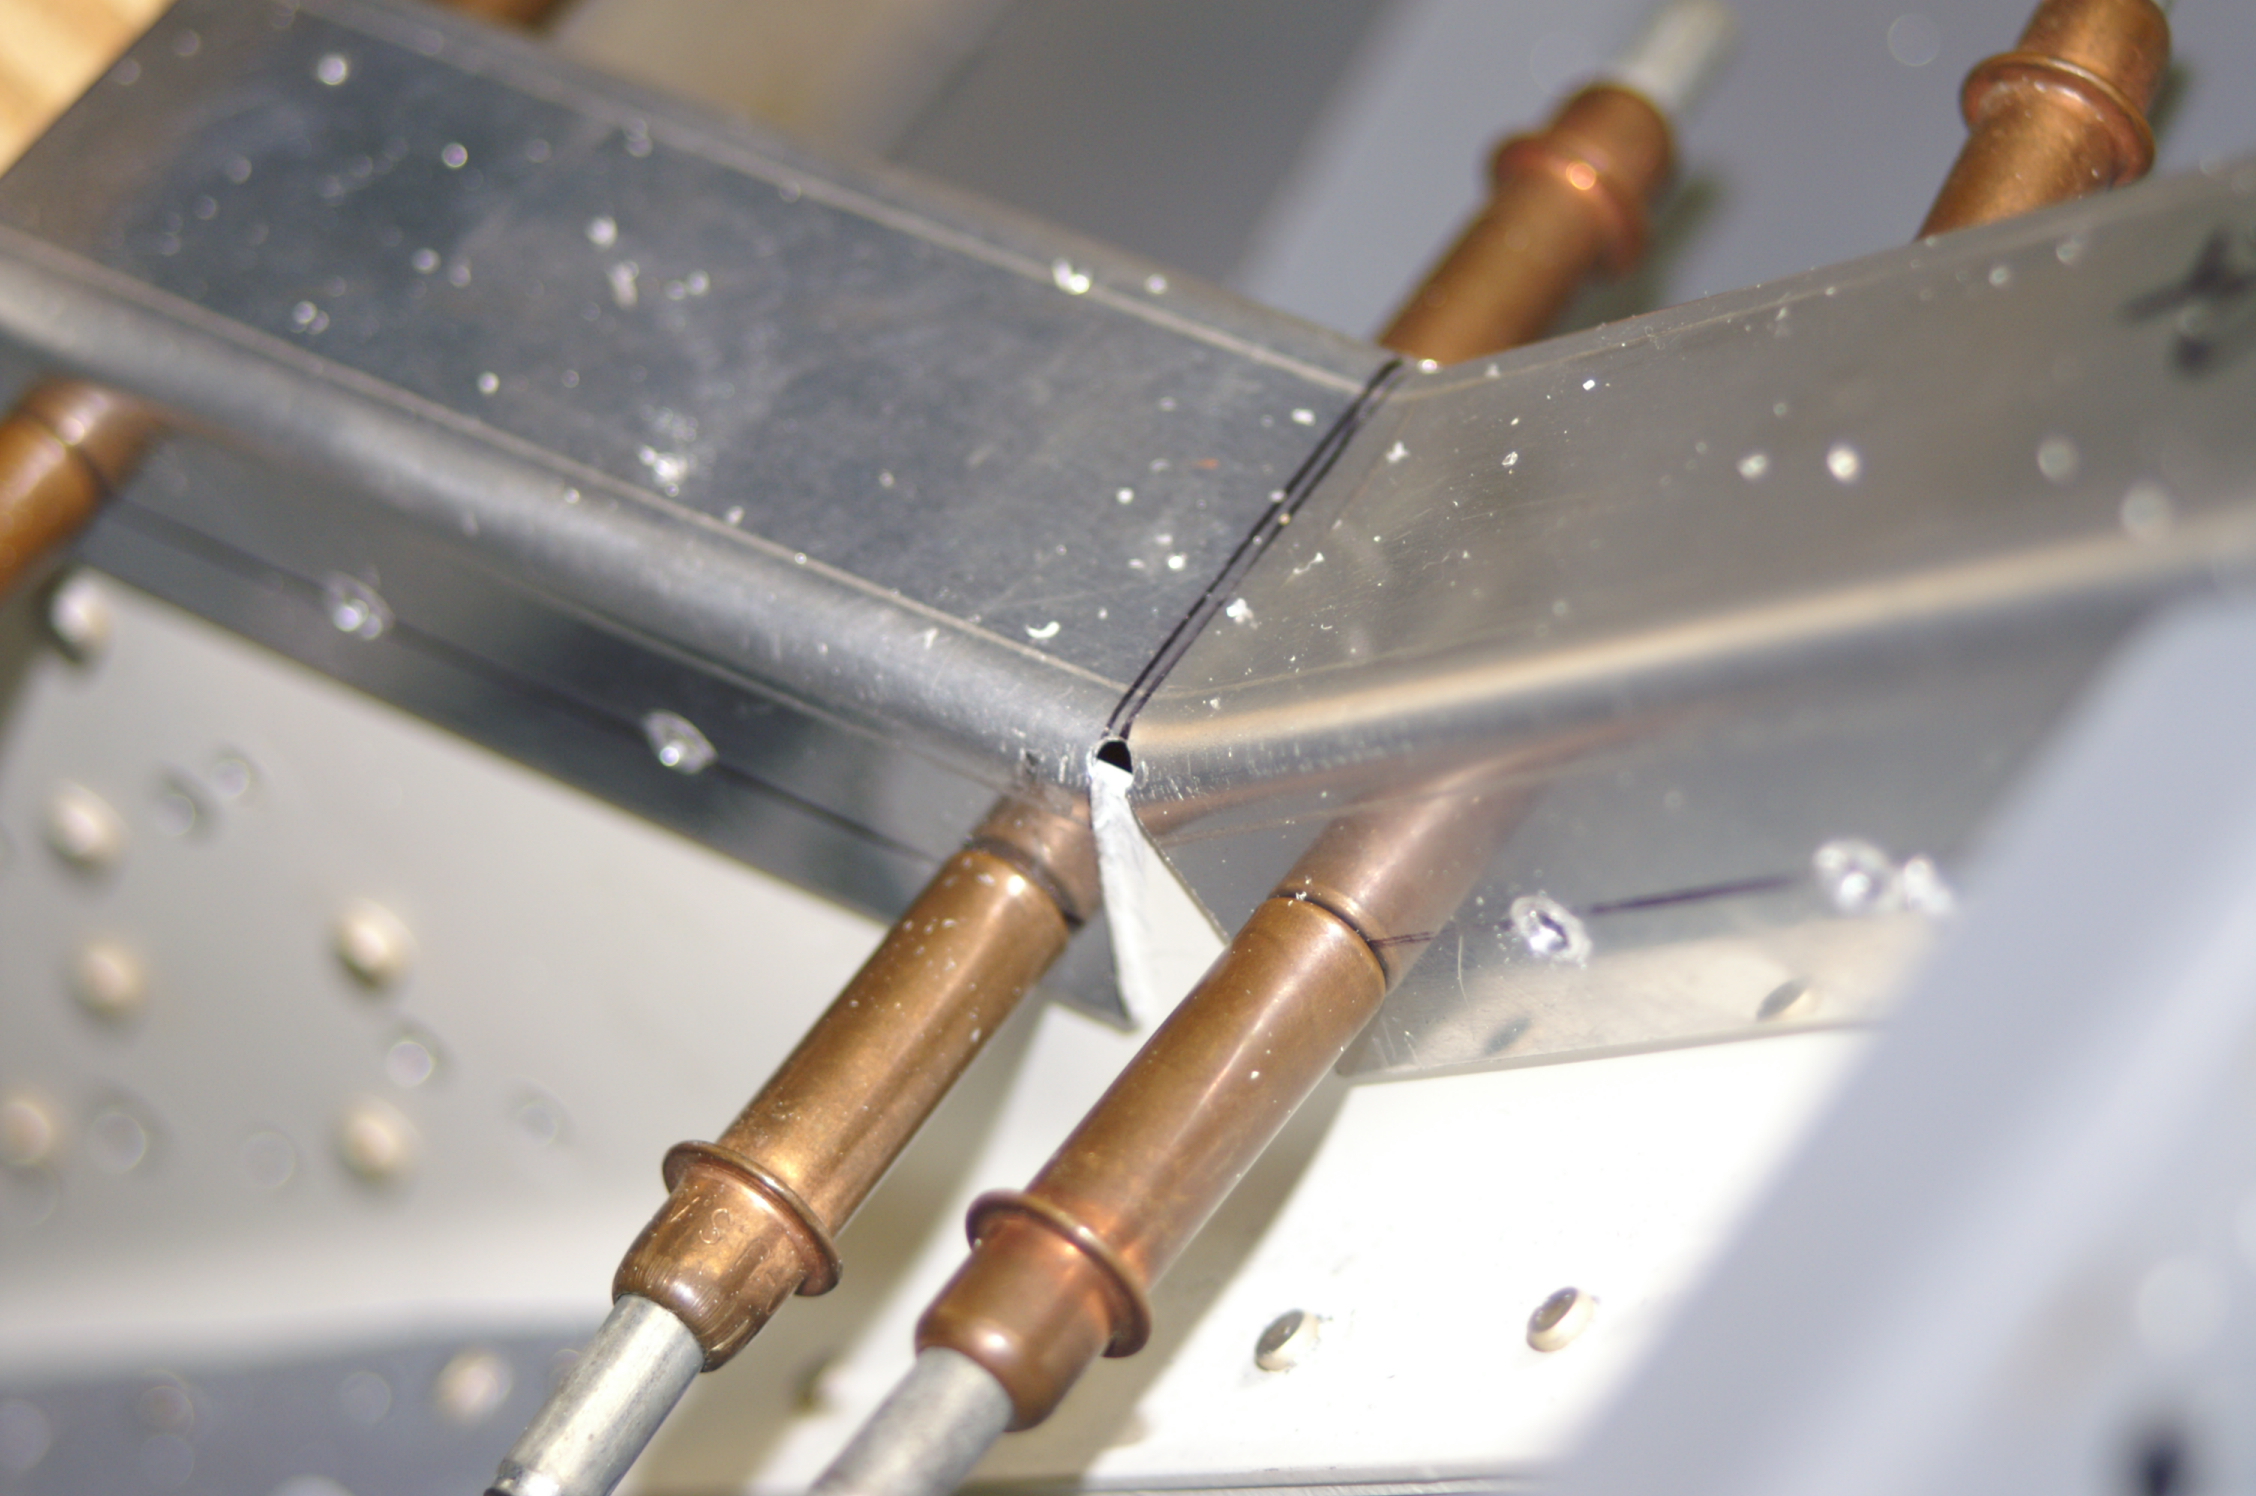
These two spacers also act as the elevator horn stop blocks which limit the total amount of fore/aft movement of the elevators. |
Spacers held in place with rivets |
|||
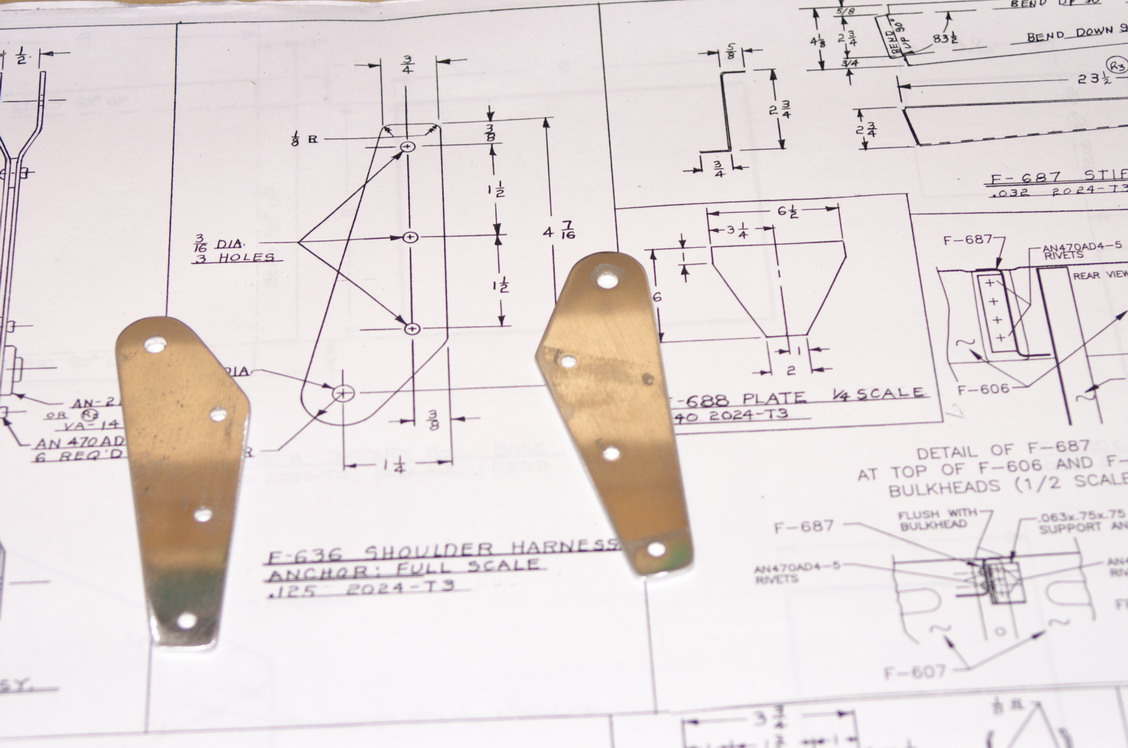 |
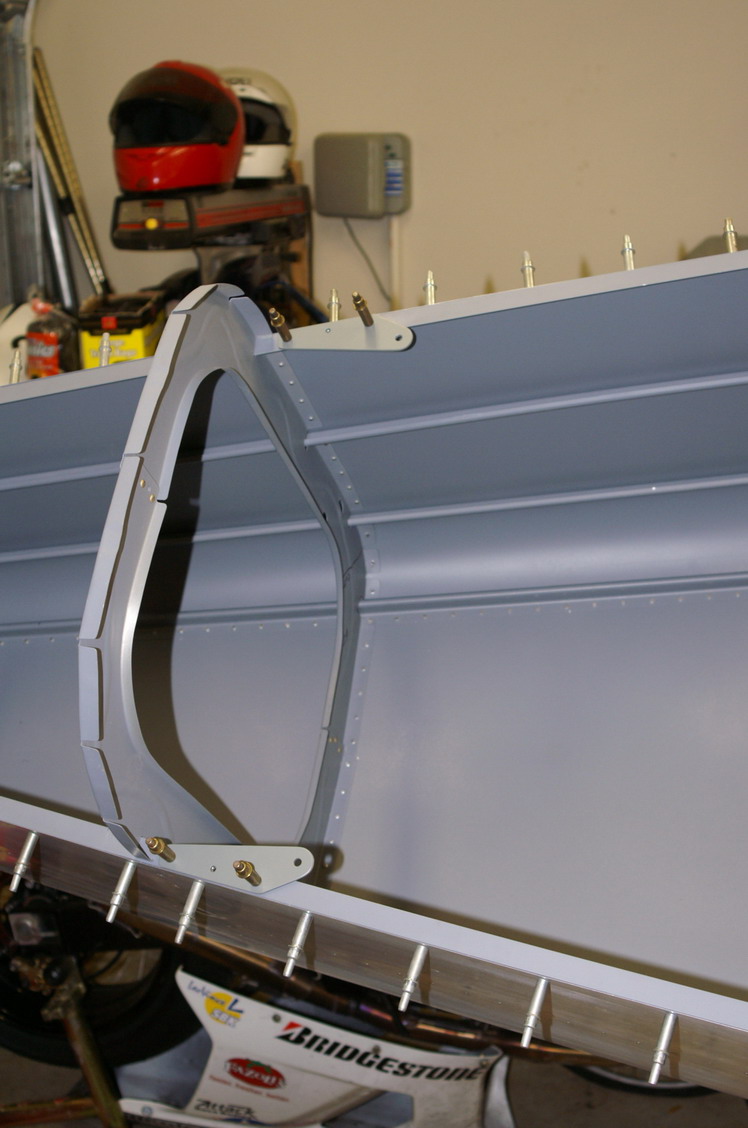
These two brackets are the shoulder harness tie-down brackets. They mount towards the rear of the plane and will be bolted in place. There are held in place temporarily until I can rivet the rear deck skin in place. Here are the brackets in place. |
 |
|||
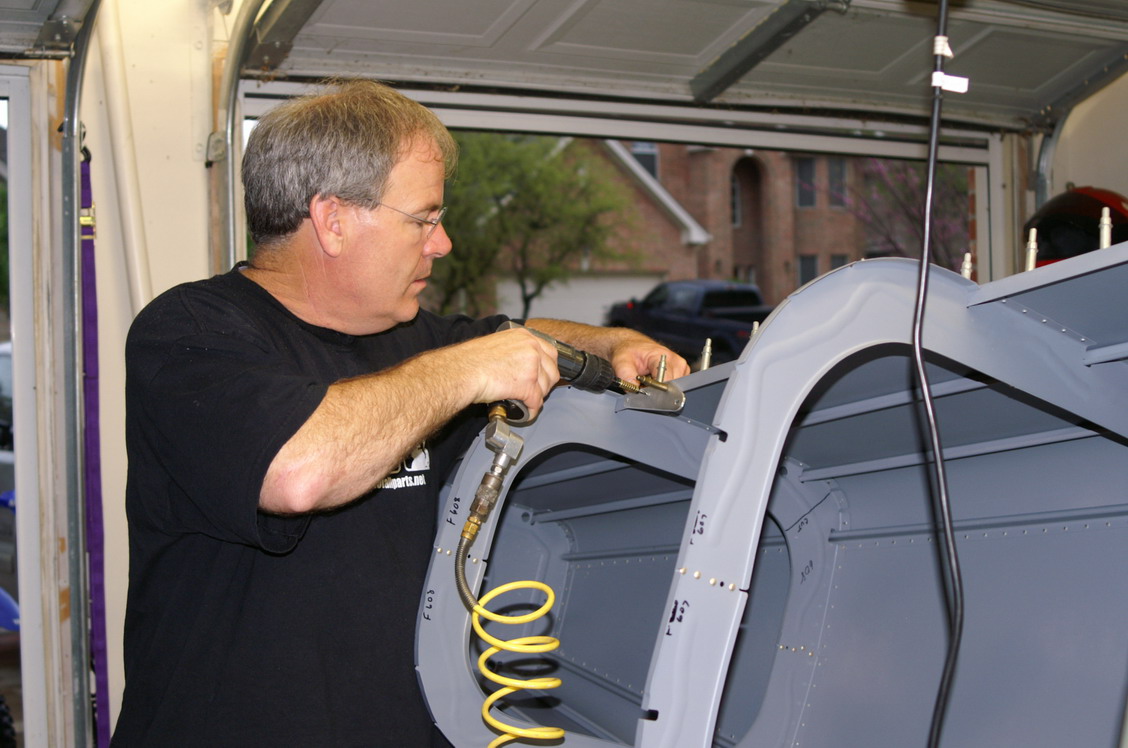 |
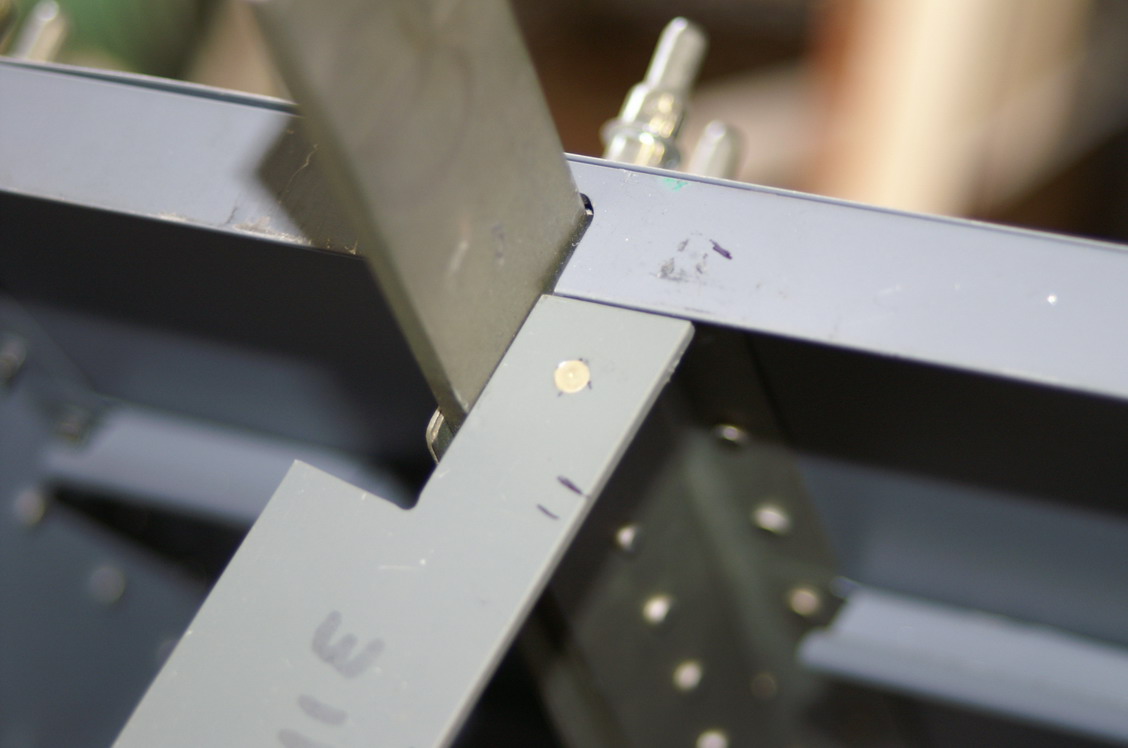
Drilling the bracket into position. | ||||
 |
The lower baggage compartment wall cut, drilled and riveted in
place. Here is some detail of the cut to make it fit. |
 |
|||
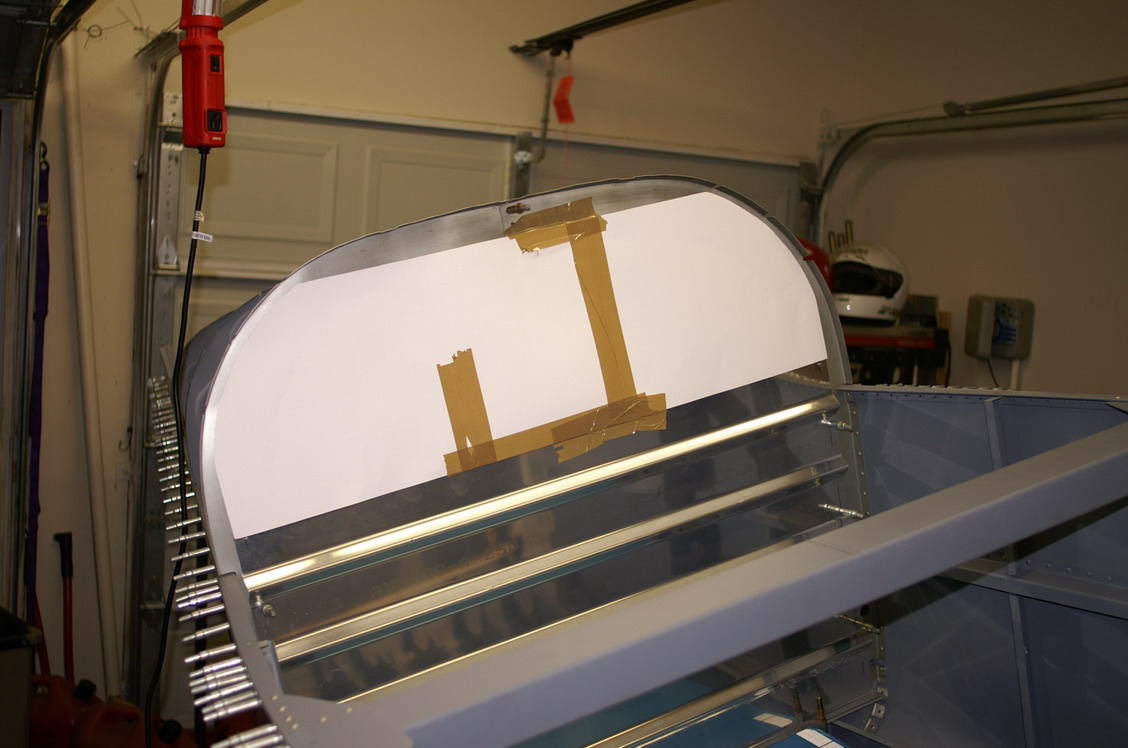 |
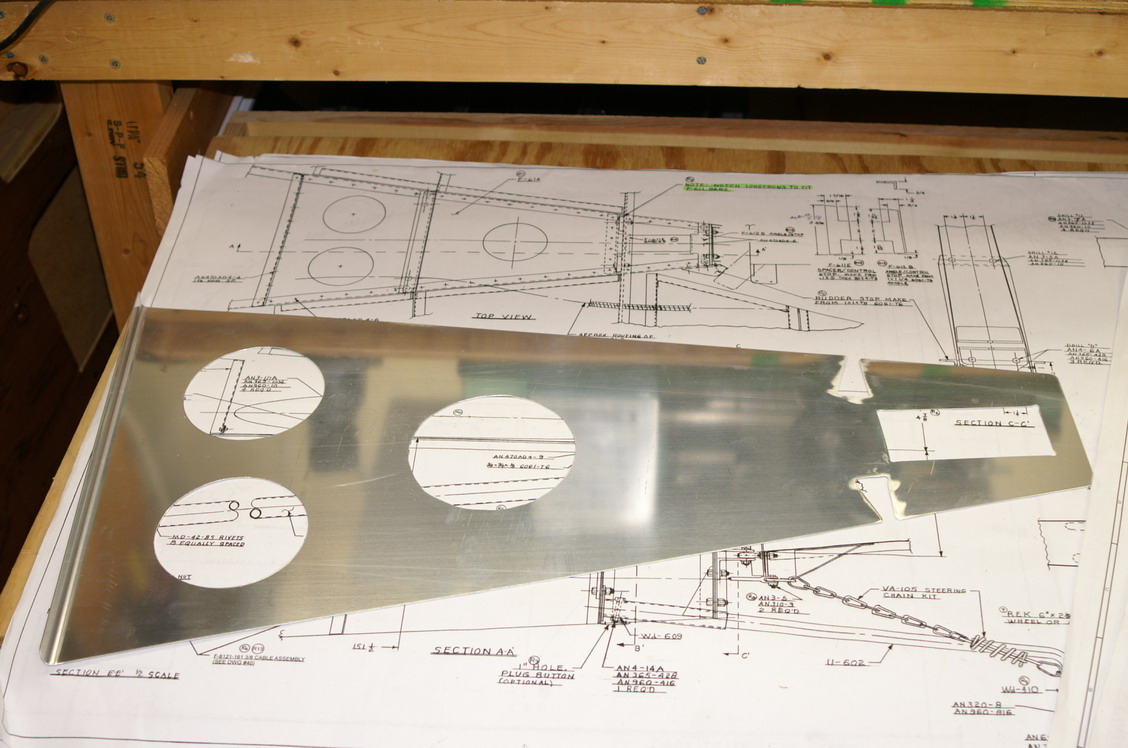
To fabricate the top half of the baggage compartment wall, I made a
template from poster board and cut it to fit necessary dimensions. The result was a nice fitting piece that is drilled and clecoed in place. I still need to cut the slots and fabricate the guards for the seatbelt harness cables. |
 |
|||
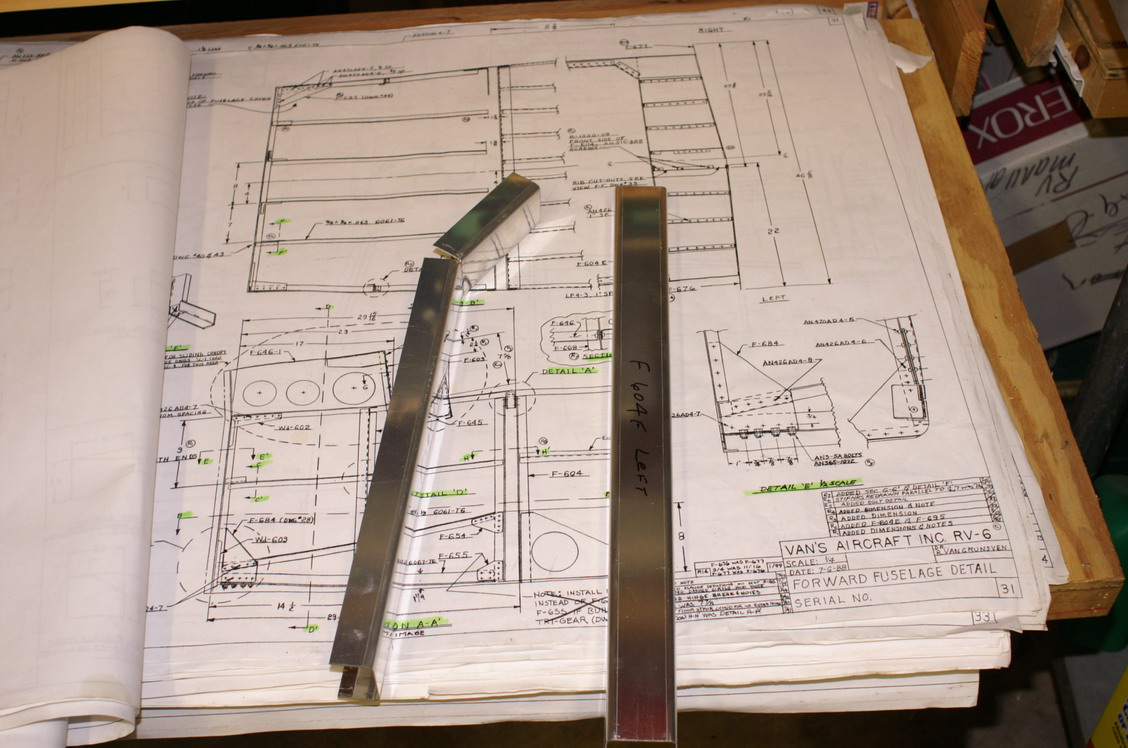 |
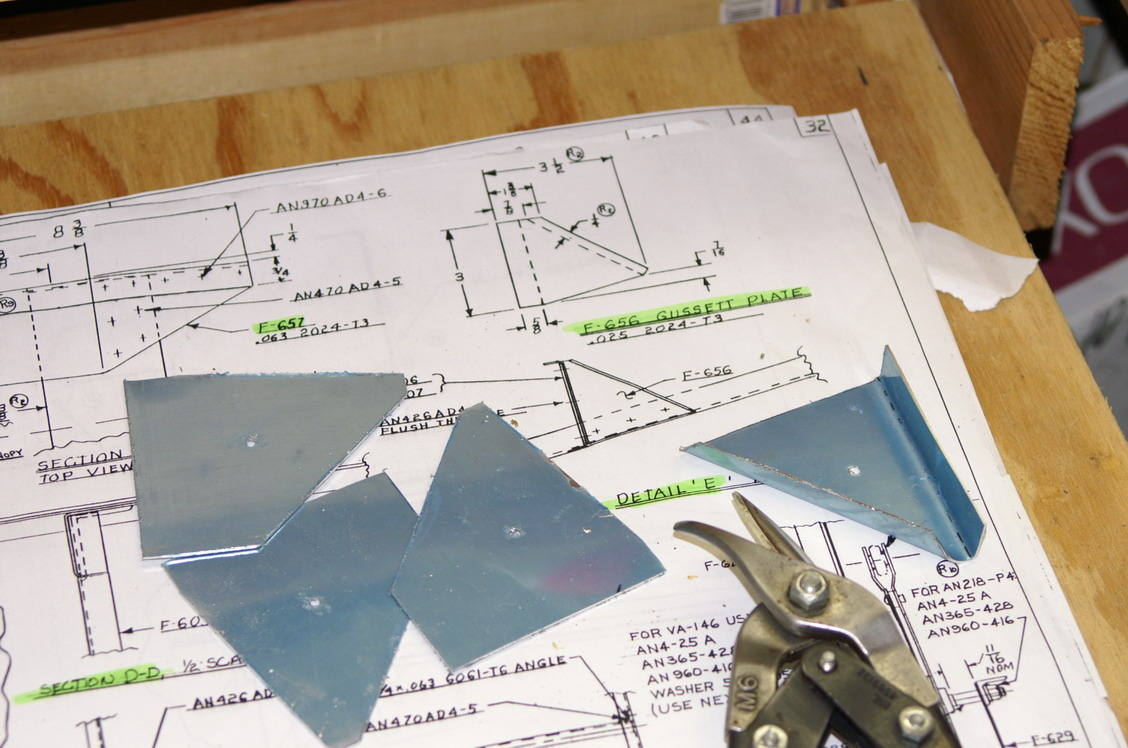
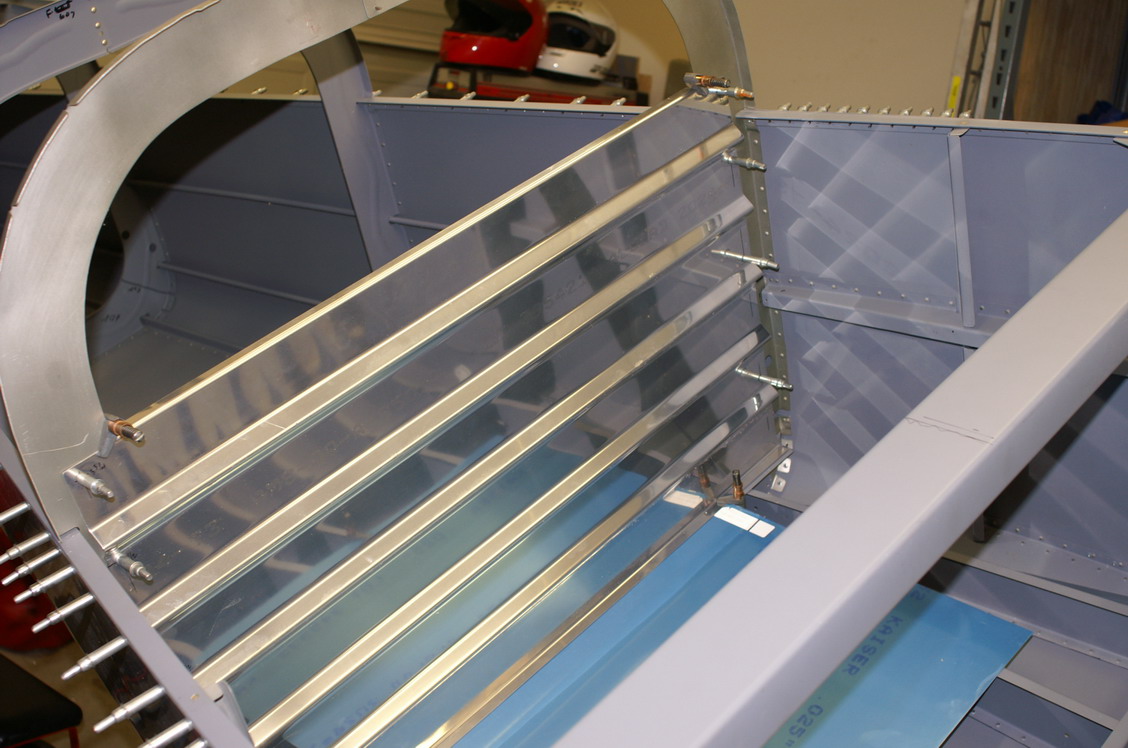
This is the two spar caps showing the cut, bend and the installation. The parts still need to be deburred and primed. |
 |
 |
||
|
|
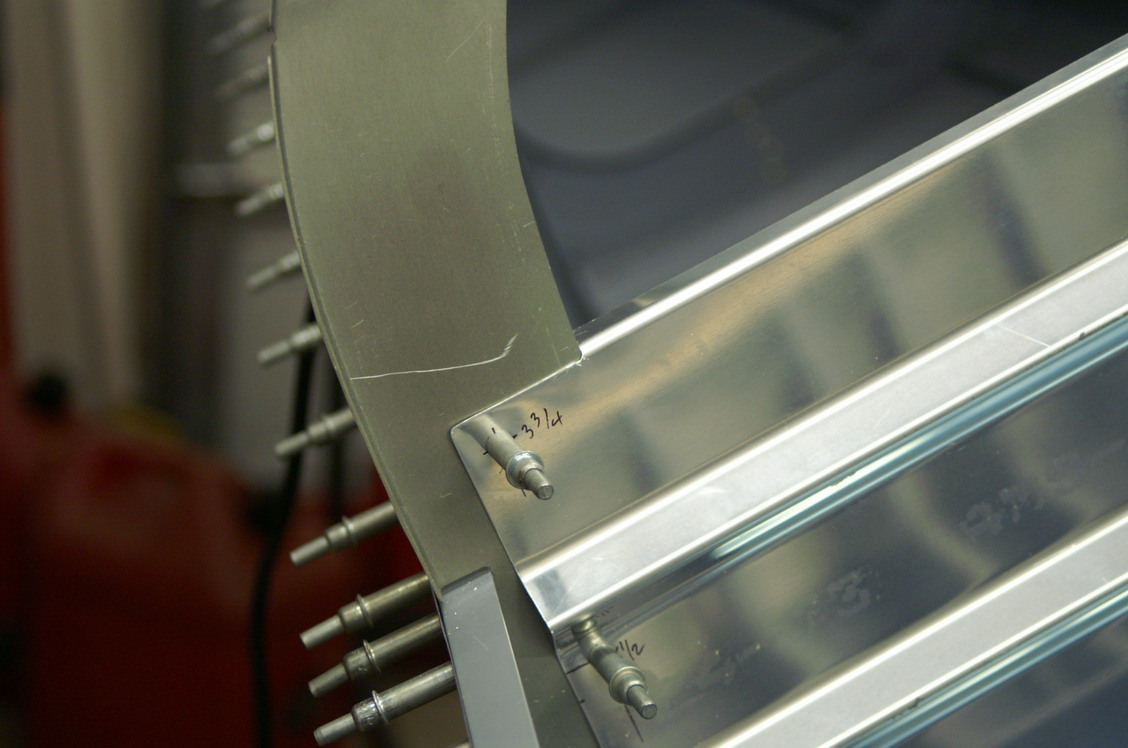
I think I was originally sent these supports as part of the kit but I couldn't find them. The instructions say to fabricate them, so, since they couldn't be found I made them up as instructed. |
|
|||
 |
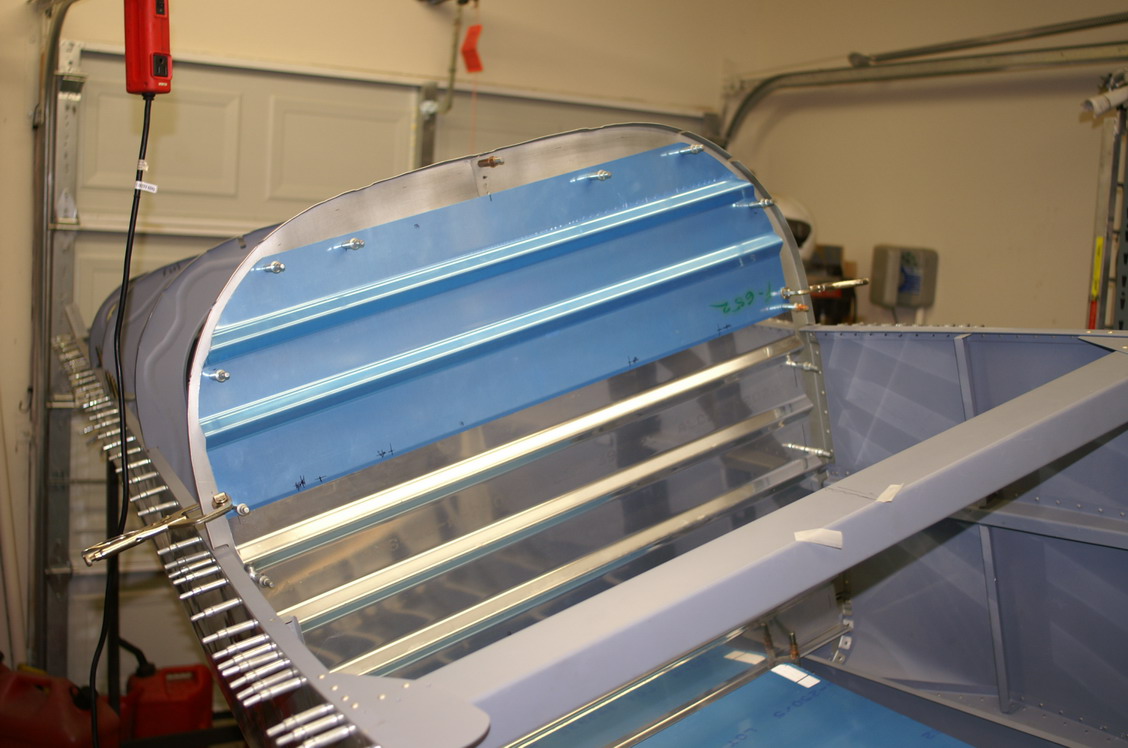
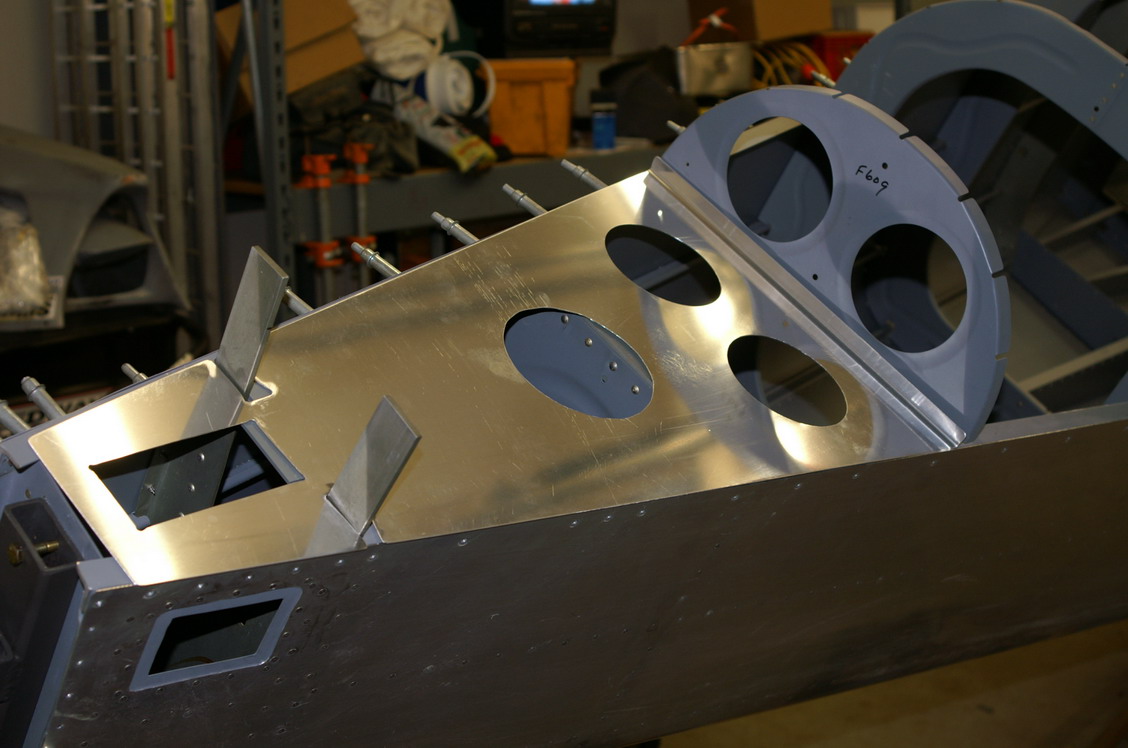
The rear deck is shown here with all the holes and slots cut out then set in place for the picture. |
 |
|||
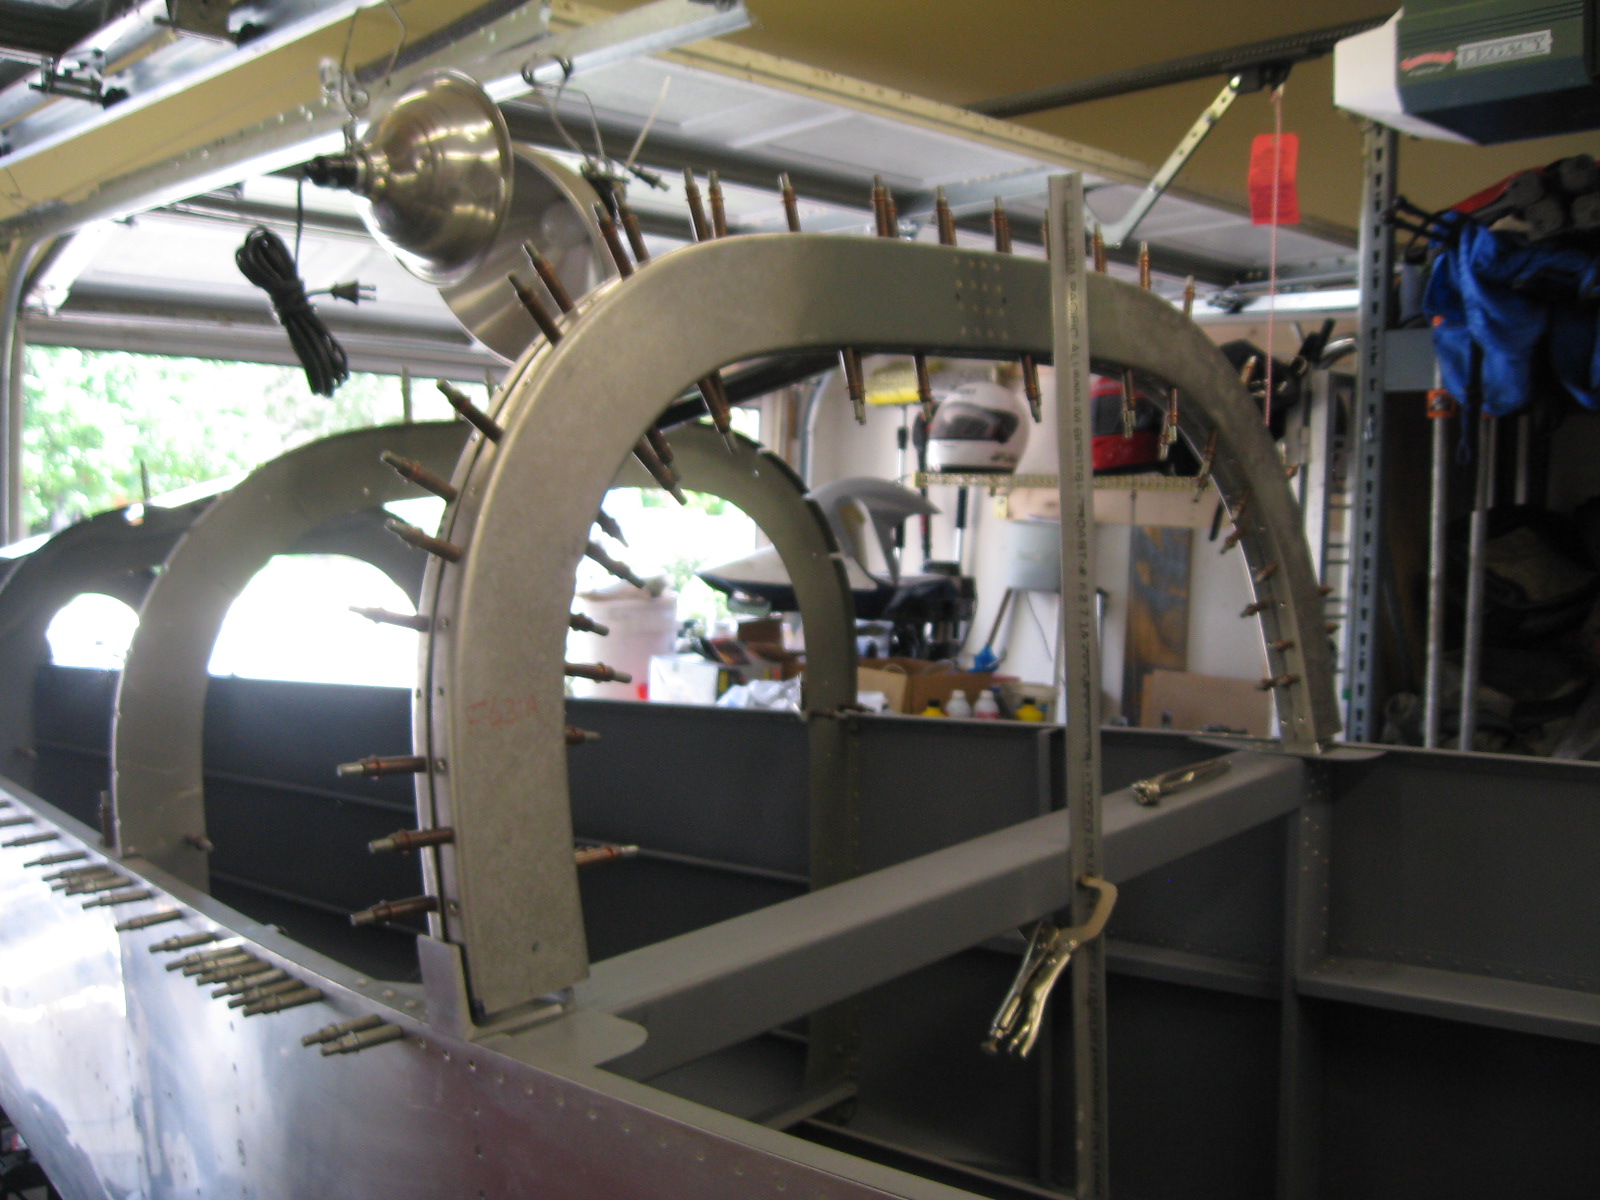 |
After many years of inactivity, I picked up where I left off working on the canopy. |
 |
|||
 |
There is a lot of trimming and fitting to do after making the mounting brackets. |
 |
|||