|
|
||
|
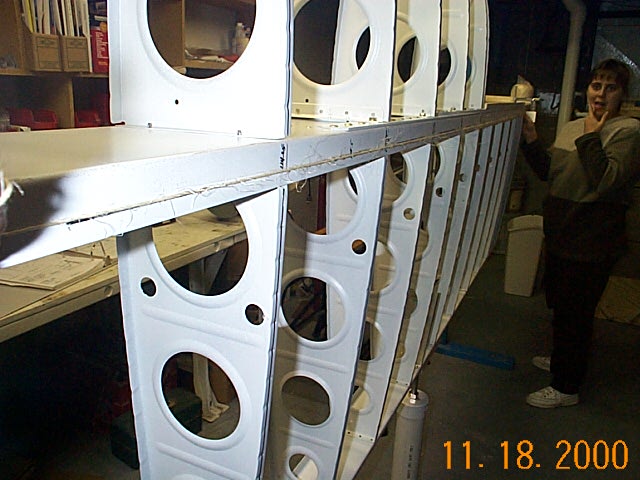
Now comes the fun part! It's time to start putting the skins on the wings. But first we have to set up the jigs. As you remember, fellow RV builder and RV-List member, Len Legget, sent me the jigs that he used free of charge (I just had to pay shipping). You have to watch that shipping stuff, especially when you get sent 4 steel jigs made of 3" U channel and 2 x 4 square tubing. The bill for shipping from N. Carolina was about $275. Money well spent in this case. These things are solidly built and will hold a car! |
||
| These two pictures show the first
jig set up and the wing skeleton temporarily installed. I've drilled
holes in the concrete basement floor (Beth wasn't to happy about that) and
used 1/4" x 2.5" anchor bolts to hold the jigs in
place.
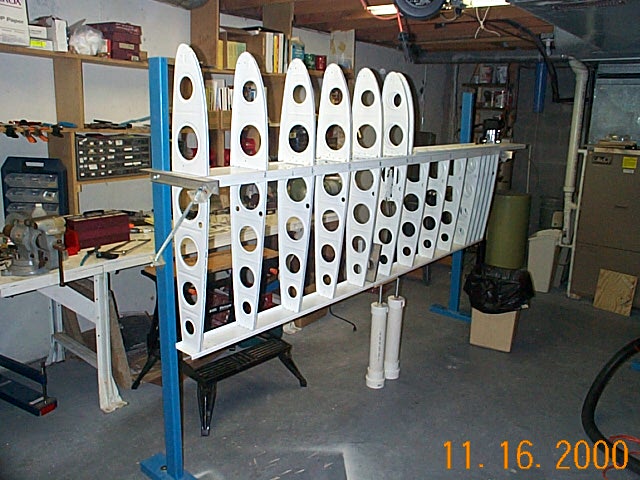
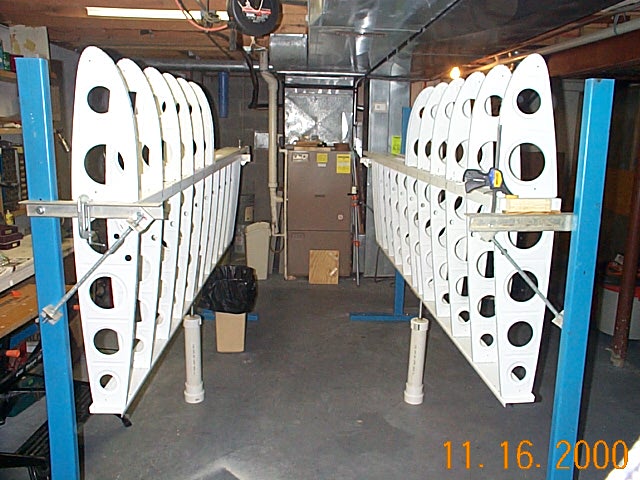
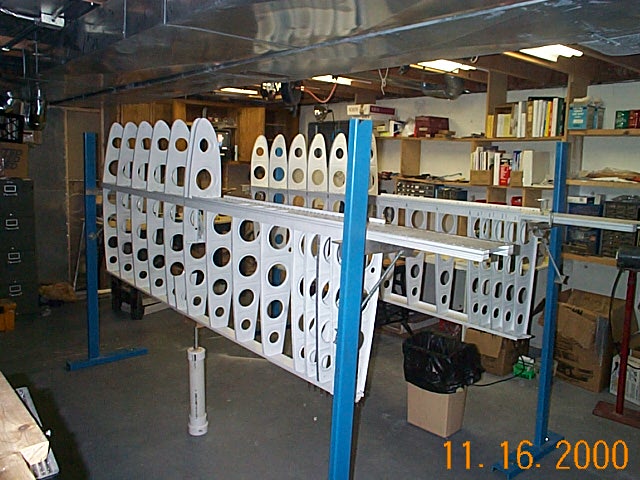
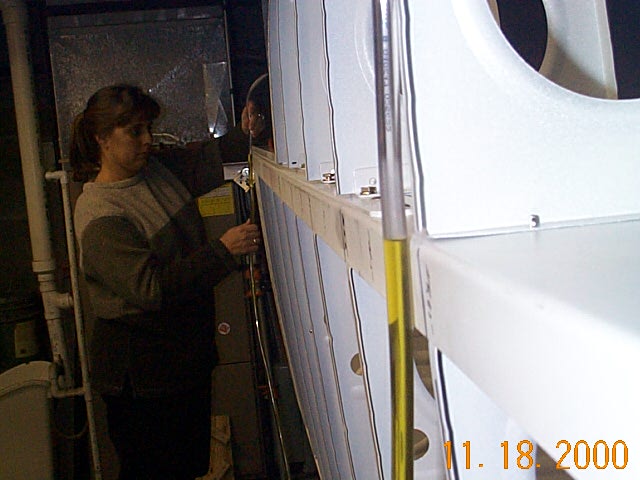
You can see in the top picture how the unsupported skeleton hangs down. The bottom picture show how my home made jack supports the center of the skeleton and (in this picture) can actually cause the skeleton to bow up. The second jack is for the other wing. |
||
| Here are a couple of close up pictures
of the home made support jacks supporting a 2 x 4 piece of wood against
the rear spar.
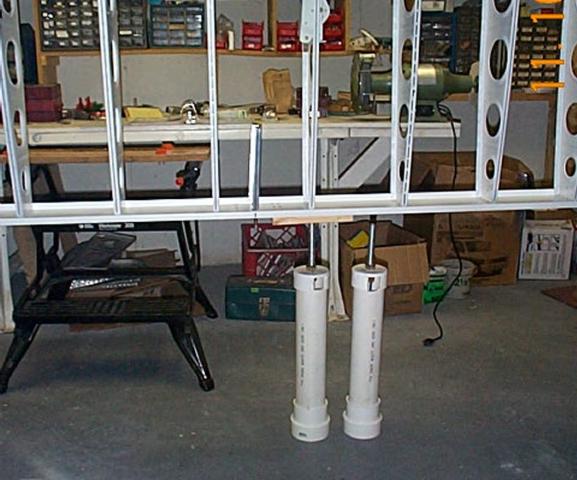
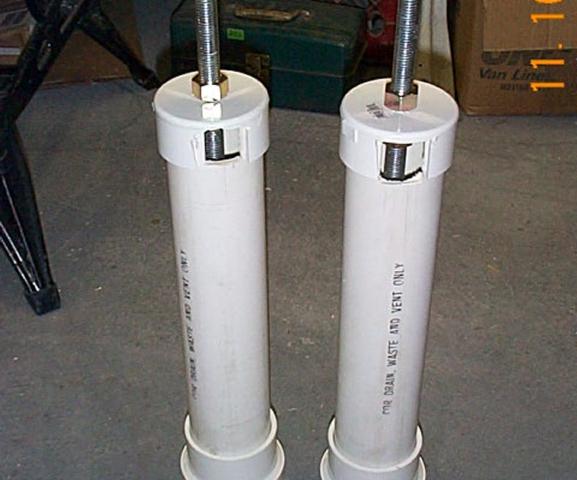
The jack were fairly easy to make and took about an hour. I used 3" PVC tubing about 23" long. For the base I used a 4" to 3" PVC reducer fitting and set the 3" tube in it without gluing. For the cap I just used a 3" PVC cap and drilled a 3/4 inch hold in the top. The screw is just a 10" long 3/4" threaded rod with two nuts for adjustment. Notice I had to cut a hole in the cap and the tube to allow access to the nut on the bottom. Total cost was about $35. The cap and base fitting were expensive! |
||
| Here are both wing skeletons
almost ready for skinning. I've leveled the horizontal arms but I
have not leveled the wing spars yet.
|
||
| After leveling the horizontal arms I decided that I should ensure that the spars were level. They were not level indicating some twist in the spar. I then used the adjustments on the jig to level the spar itself at both ends. | ||
| I used a water level to insure both ends of the wings are level. I had Beth hold the water level steady at her end and then raised and lowered my end until the water level was in position. I then had Beth check her end. If the water level on her end was low then I would raise my end. If it was high at my end then I would raise her end. Using some wood, I shimmed the end until the water was the same height at both ends. | ||
| After both ends of the wings are level,
I then had to ensure there was no "bowing" of the spar.
Since the plans call for the leading edge skin to be positioned 1"
from the top of the spar, I drew that line as my reference line.
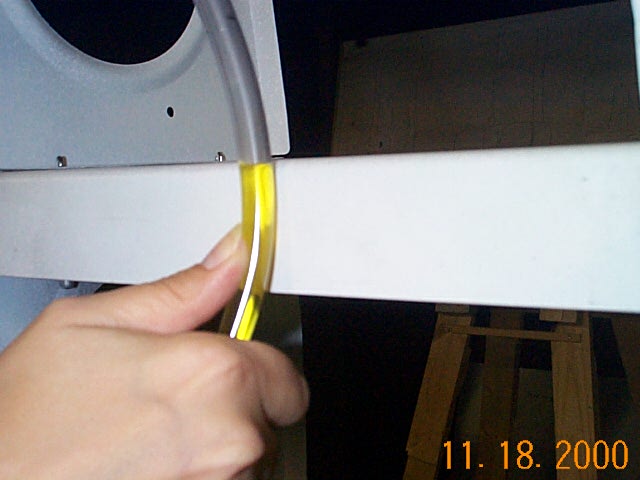
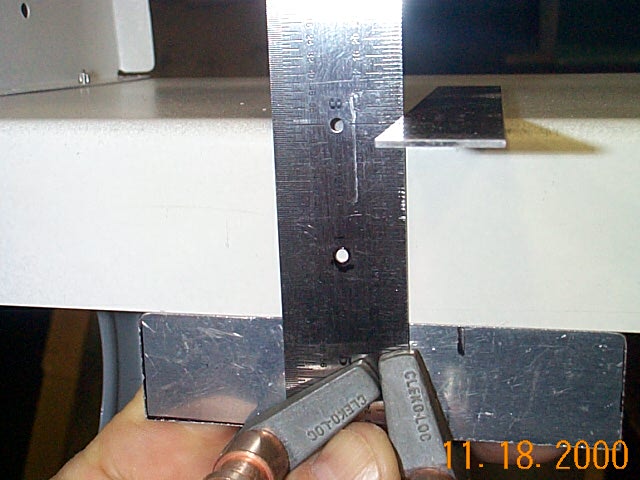
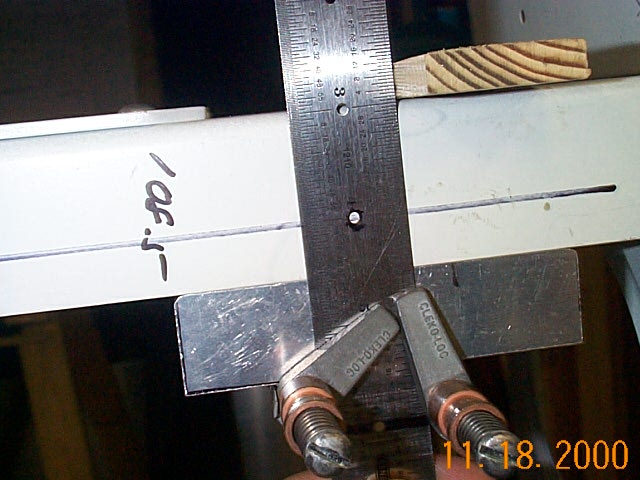
To draw that line I used my centering ruler and a guide block to establish the 1" point and then using the hole in the ruler, I just slid it along the trailing edge (bottom) of the spar. Worked pretty slick. |
||
| Once the line was drawn, I used the home made jacks to raise the center of the spar until a string line from each end of the spar was level with the line drawn on the spar. | ||